Because of its nature of recording the scene in front of the camera, people assume that photography is some kind of “pure” imaging form. That is, that what you see is reality. I take opportunities when I can to dispel this myth. Never assume purity in photography unless it is explicitly presented as such. This is a theme that just won’t go away.
Recording
Our excellent digital sensors do a pretty good job of reproducing what the lens images onto their surface. For good and bad. Because of this, some people assume that photographs represent exactly what was captured.
This is just an assumption that in no way restricts me in my art. And it does not restrict anyone else unless they make the explicit determination to not do any manipulation. What the sensor records is often just a starting point in my photographic vision. Not an end point.
It is so easy now to alter images that you should always assume it has been done.
Manipulating
From nearly its beginning, artists have manipulated photographs. Black and white film photographers quickly invented ways to alter their images. Sometimes these were done to overcome limitations with the technology of the time. Sometimes to correct or improve the images, for instance by “spotting” defects and removing distracting objects. More and more commonly alterations were done for artistic improvements.
For fun sometime look up a “straight” print of Ansel Adam’s famous Moonrise, Hernandez, New Mexico compared to one of his later interpretations. The later is almost unrecognizable as the original. Does that mean there is something false about the later prints? No, it is considered one of the great examples in the history of photography. The artist chose to alter it heavily to make it appear as he wanted it to look.
It is never safe to assume that a photograph exactly represents reality.
What is truth?
Is a photograph “truth”? Is it some form of purity? Why? What makes you assume it is?
The technology of its capture process leads some people to assume a purity or truth that may lead you astray. Yes, the sensor recorded all the light falling onto its surface, but there is still a long journey from there to a finished image.
Some might say that Photoshop eliminated truth. That is overstated, but not entirely false. The positive statement is that Photoshop enabled greater artistic expression. Photoshop and other image manipulation tools, along with powerful home computers and large disks, opened a new world of creativity to artists.
Now most photographic artists do extensive manipulation of images. Photoshop, Lightroom Classic, Capture One, and other tools open new worlds of creativity to photographers. Photographers have always done this, but the modern tools add new power and possibilities.
But this power is just a modern convenience. It has always been true that images are created in the artist’s imagination. A great example is Albert Bierstadt, a German painter who helped popularize the American west in the 19th Century. His paintings created a lot of interest, but they were often, let’s say, fanciful. For example his work Rocky Mountain Landscape does not depict any real scene I have ever found in the Rocky Mountains where I live.
The artistic view is that an image is the expression of the artist’s vision and feeling for the image. It seems the truth comes from within rather than being a property of what is represented.
What is the intent of an image?
Does this manipulation make an image less “true”? That depends on the intent of the image.
Maybe it seems obvious, but any image presented as truth must be true. If I see a picture in a news article that claims to show a certain event, it better be exactly that. If it is altered to manipulate the scene or misrepresent the event, that is false and the reporter and their organization should be severely censured.
In my opinion no AI generated “news” or images can be presented as truth. They were generated by a machine rather than being a direct capture or observation of an event.
Let’s go a little away from news and talk about a portrait. Must a portrait be a literal, completely truthful depiction of the subject? Well, they never have been. Portraits are always “retouched”, maybe altered extensively to hide blemishes. Perhaps to make the subject look slimmer or taller or a little more handsom. So a portrait should be a recognizable representation of the person, but do not assume it is literally true.
But I live in the world of art. Art is fantasy and imagination and vision and creativity. We should never get confused that art is reality. I am free to do anything within my image that I think expresses my artistic vision. This makes Bierstadt’s Rocky Mountain Landscape acceptable art, even if not reality.
Don’t waste your effort thinking photographs are always reality. Most do not even pretend to be anymore. Photographs are another artistic expression, unless explicitly presented as reality.
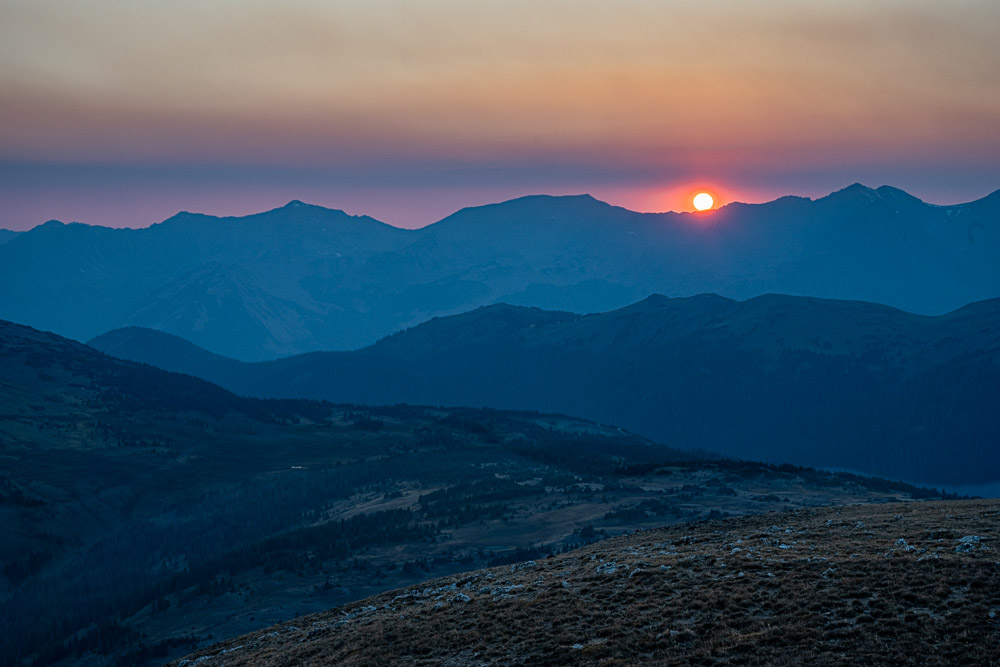
Today’s image
A high altitude aerial? Maybe. Maybe not. Since I have been talking about photographic art not being real, it might be best to assume this isn’t exactly what it seems.
I won’t say more about it now. This is part of a series I am working on.