How many images do you click off of a scene? Why? Our wonderfully fast cameras have enabled this thing I have heard called “Obsessive Clicking Disorder”. When we see a scene that looks promising we can blast away at 5 or 10 or maybe 20 frames a second to “make sure” we get the shot.
I claim that that is often self-defeating, even lazy.
Machine gunning
So we point our camera at the scene and machine gun it for 30 frames. We are afraid we might miss “the moment”. Machine gunning is a brute force technique.
Think about the shooting metaphor. A rifle allows a skilled shooter to place a single clean hole right where he wants it. A machine gun sprays bullets all over the place in an uncontrolled way. The single rifle shot is elegant and controlled and disciplined. To me it is craftsmanship.
Those of us shooting fairly static and predictable subjects can usually take the time to wait for the right moment and fire off just one or two or a few frames. And, of course, if you are taking long exposures you’re not going to be firing away at high speed. Less can be more.
Bracketing
Another time where lots of images are captured is bracketing. In certain situations this is completely appropriate. Our marvelous sensors have a great dynamic range, but sometimes scenes require more. Exposure bracketing might come to the rescue by allowing an HDR compression of the range.
Do very many of your situations actually require this? I couldn’t put a percentage to my work. But I know it is only the occasional high contrast situation that forces me to use it. The extra work and the varied results of HDR processing make me try to avoid it where possible. And scenes with movement are often not good candidates.
Be aware
But what is the alternative to obsessive clicking? How can you get the shot of the fleeting moment?
To me the answer is being aware and attuned to the action going on. If we train ourselves to anticipate the “decisive moment” and be ready for it, we can capture it and know we have it. A good DSLR is fast (10-20 mSec to trigger an image capture, maybe even faster if using electronic shutter). Compare that to machine gunning at 10 frames a second. That is one image every 100 mSec. But within the regular, unvarying 100 mSec ticks a person can move a few inches or blink. You are just hoping that the odds will work in your favor. And often they do.
An alternative, though, is to focus on the moment, the gesture. You might be amazed at the ability you can learn to recognize and capture that peak time when the gesture and the eyes and everything is right. Triggering the shot then will usually get the scene you hoped for.
Gesture
The incredible Jay Maisel describes this as waiting for the gesture. That is his version of the decisive moment. When we get in the flow and are completely attuned to the subject we can usually anticipate when these great gestures will happen. Wait for it. If you are concentrating, you will have time to press the shutter and get it.
“Such moments are fleeting, requiring more than fast autofocus and reflexes. It demands that the photographer be able to read a scene as it’s playing out. He or she had to understand that all moments evolve, having a beginning, middle, and end. With that understanding, the photographer can anticipate that peak moment where all the visual elements or light and shadow, line and shape, color and gesture culminate in a moment that can only be captured in a fraction of a second.” Ibarionex Perello
I find this is a wonderful and rewarding skill to learn. It is precise and immersive. You become highly engaged in the scene and the action. You learn to grasp the whole gestalt while still triggering on that perfect instant. It is a great feeling.
Have you experienced it? You know it’s coming. You are in the right place to view it. Almost, Wait for it. NOW! When you hit the shutter you know you have the shot. It’s a great feeling of accomplishment to know you captured exactly the gesture you were anticipating.
There is a time
Do I ever blast away at high speed? Well, actually no. I stopped doing that when I didn’t have any more family doing sports that I was shooting. I do use exposure bracketing at times. On occasion I even take exposure bracketed panoramas.
I recognize that there are times when any of us will take lots of frames. I’m just trying to convince you that machine gunning is a sort of backup plan, not a primary strategy.
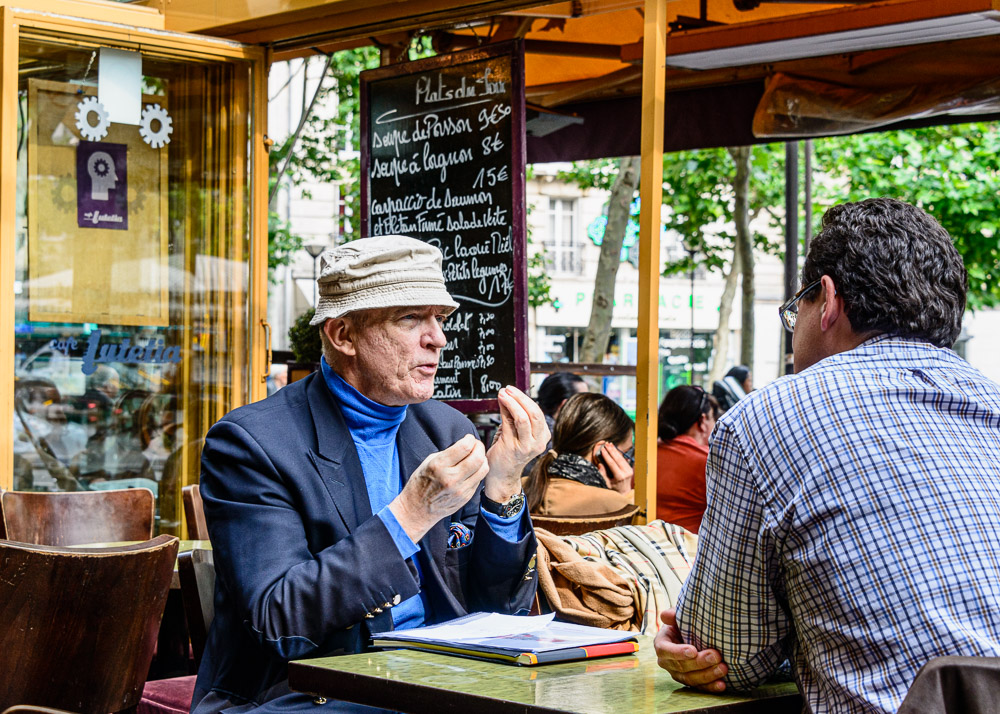
As an example of where I would do it, I love taking images of reflections in water. This is a dynamic scene that never repeats. I may take a several frame sequence to capture variations of reflections so I can choose the one that works best for me. But by the argument I used before, this is not an attempt to capture a peak moment by brute force. I expect each frame to be an excellent image but hopefully one will speak to me as the best.
Be disciplined
At the root it is about being disciplined. Closing down our options and forcing ourselves to take one frame of the decisive moment is kind of like the exercise I recommended of going out with 1 lens. It requires us to practice and develop our skill and use our mental quickness rather than brute force.
I believe mental discipline and the ability to make fast decisions is required for photography. Learning this skill will, I believe, help us make a higher percentages of images we are proud of.
This is just my own value, but I have discovered that if I can help it, I really don’t want to spend the time editing through 500 shots only to throw 400 of them away. At some level it seems to me that I am shooting randomly and grasping at straws rather than being deliberate and disciplined about my work. Photography is an art and a craft. Training and experience and discipline will improve our art.
Try it. Let me know who it goes after you practice a while.
space
*Yes, it is a pun on Obsessive Compulsive Disorder. I know that is a potentially debilitating disease that 1-3% of the population has. It is not something to make fun of and I am not doing that or denigrating anyone suffering from it. I am just using this well known phenomenon to make a point.