I recently finished a major part of a large project to cull my “best” images. It was much harder than I thought. Culling is hard.
Why
More than once, I asked myself “why?”. I thought this would take me 2-3 weeks. It ended up taking 4 months.
Why in the world would I take on something like this voluntarily? I felt it was necessary to be honest with myself. This is a follow-up and expansion of a previous article on critiquing your own work.
I use a multi-layer “grading” system to promote my best work up the ladder. It has been in place for several years and it seemed time to do a reality check to see if I believed my system. It is too easy to rate a picture higher just because I like it without it being truly worthwhile.
And to be honest, there were a couple of concerns I wanted to check on. These are hard to express or admit, but I wanted to see if my recent work was as good as my earlier work and if my work, overall, was up to the standard I want for myself.
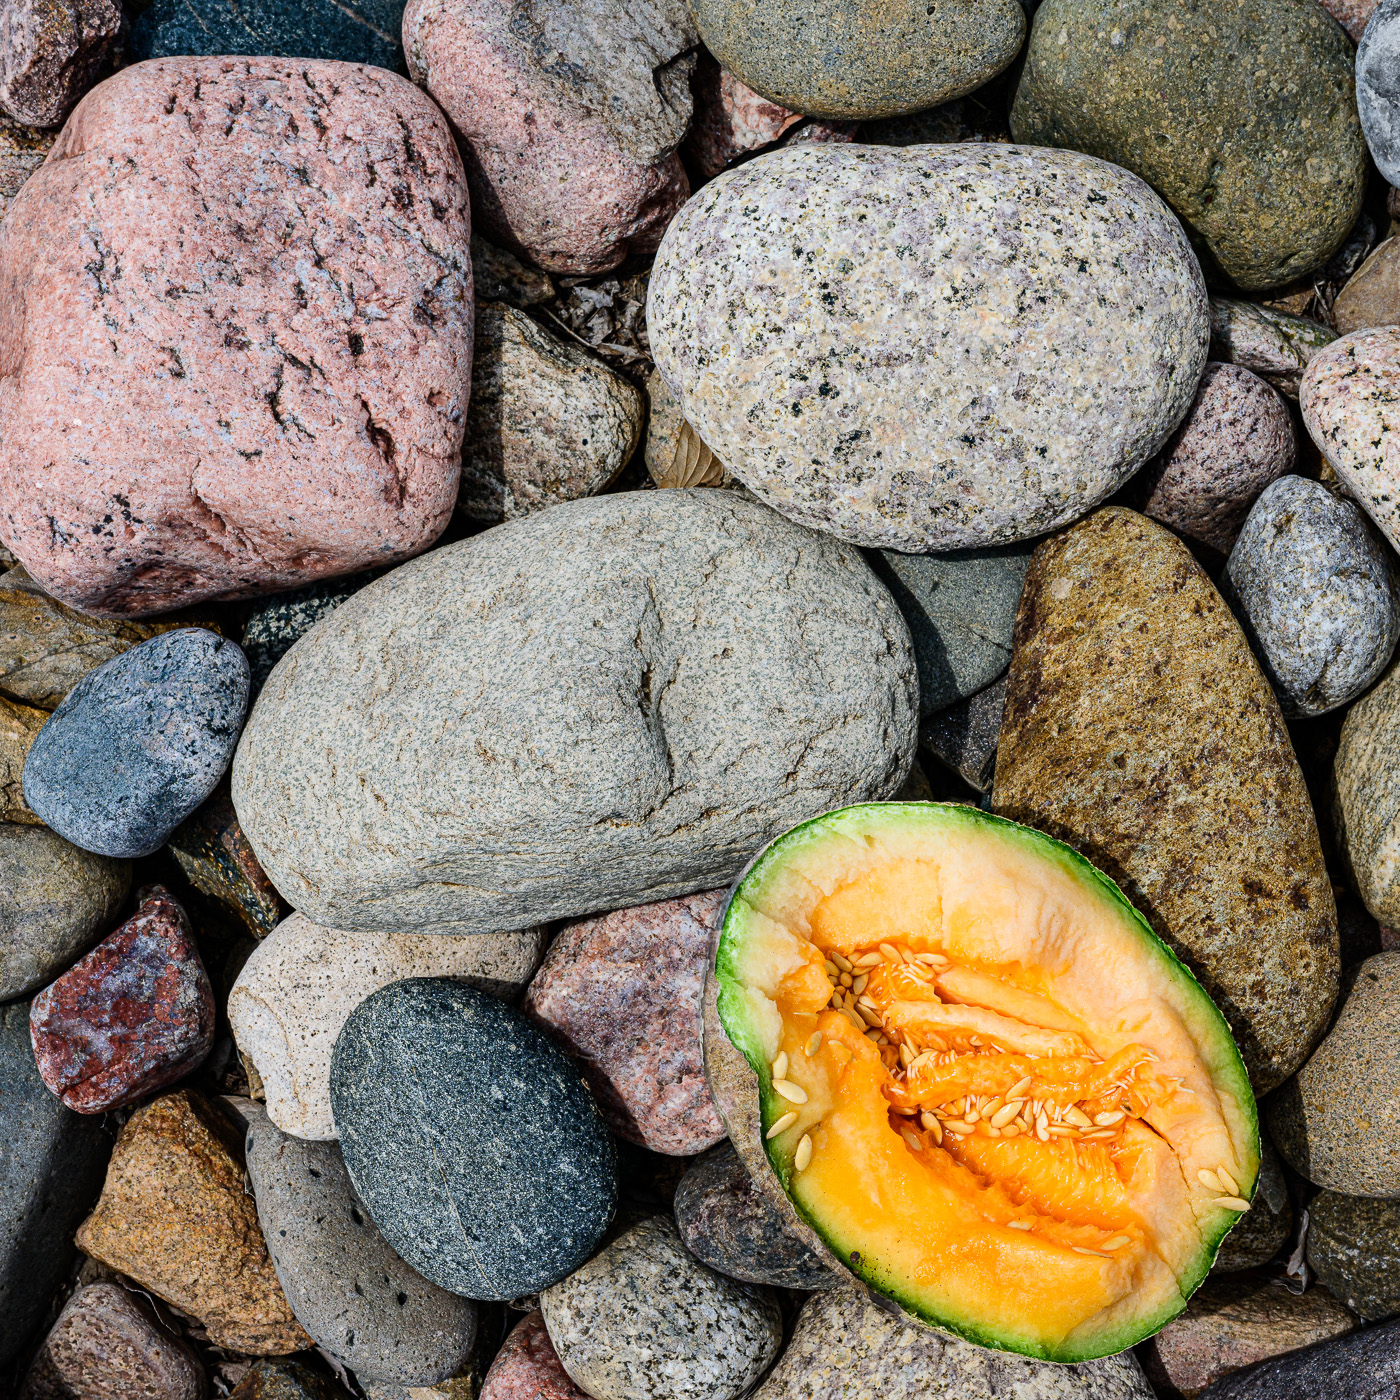
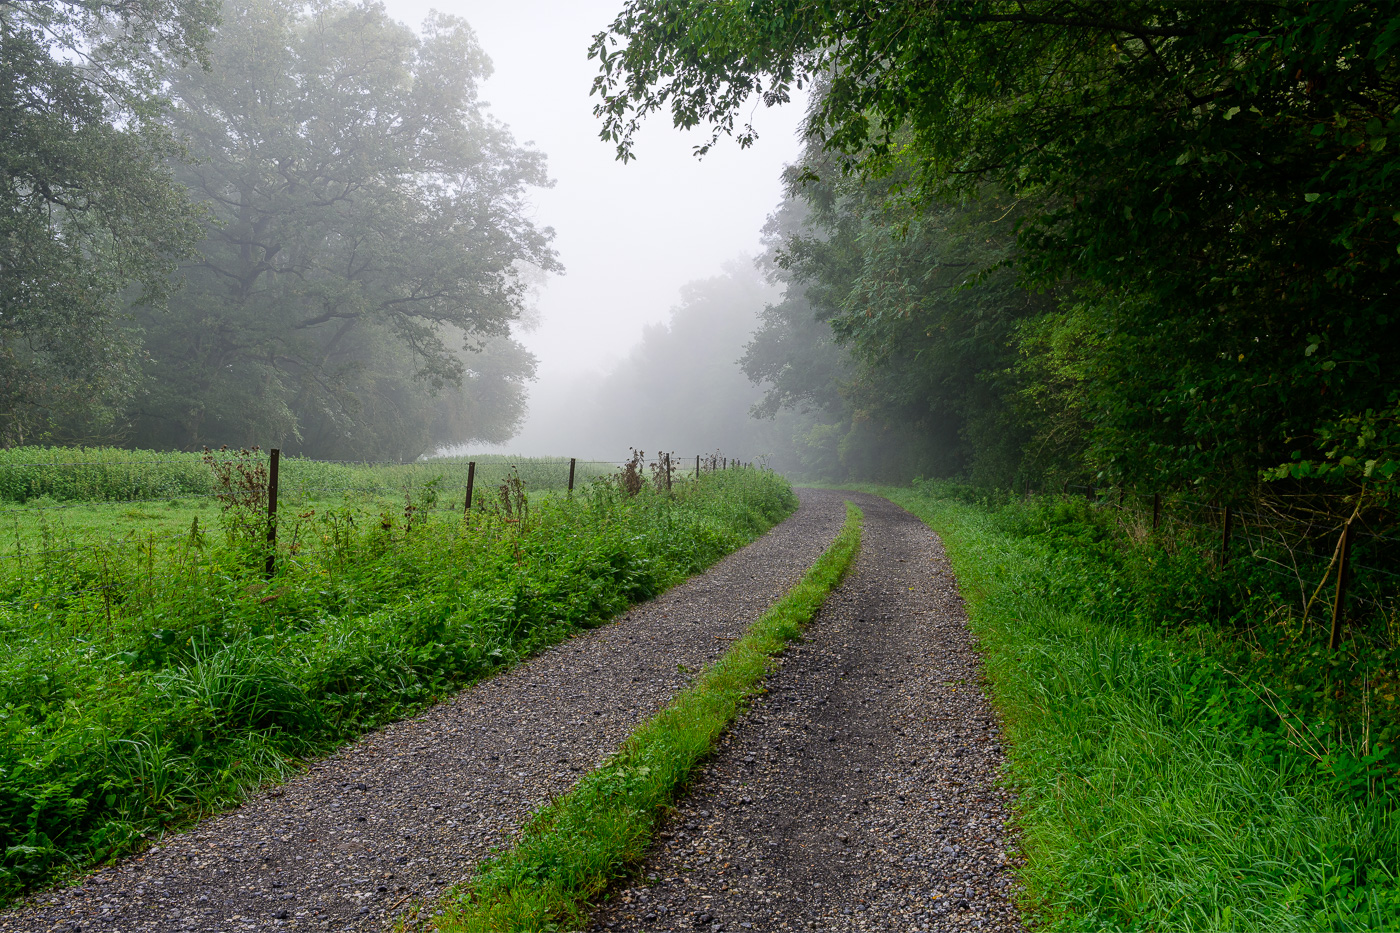
 ©Ed Schlotzhauer
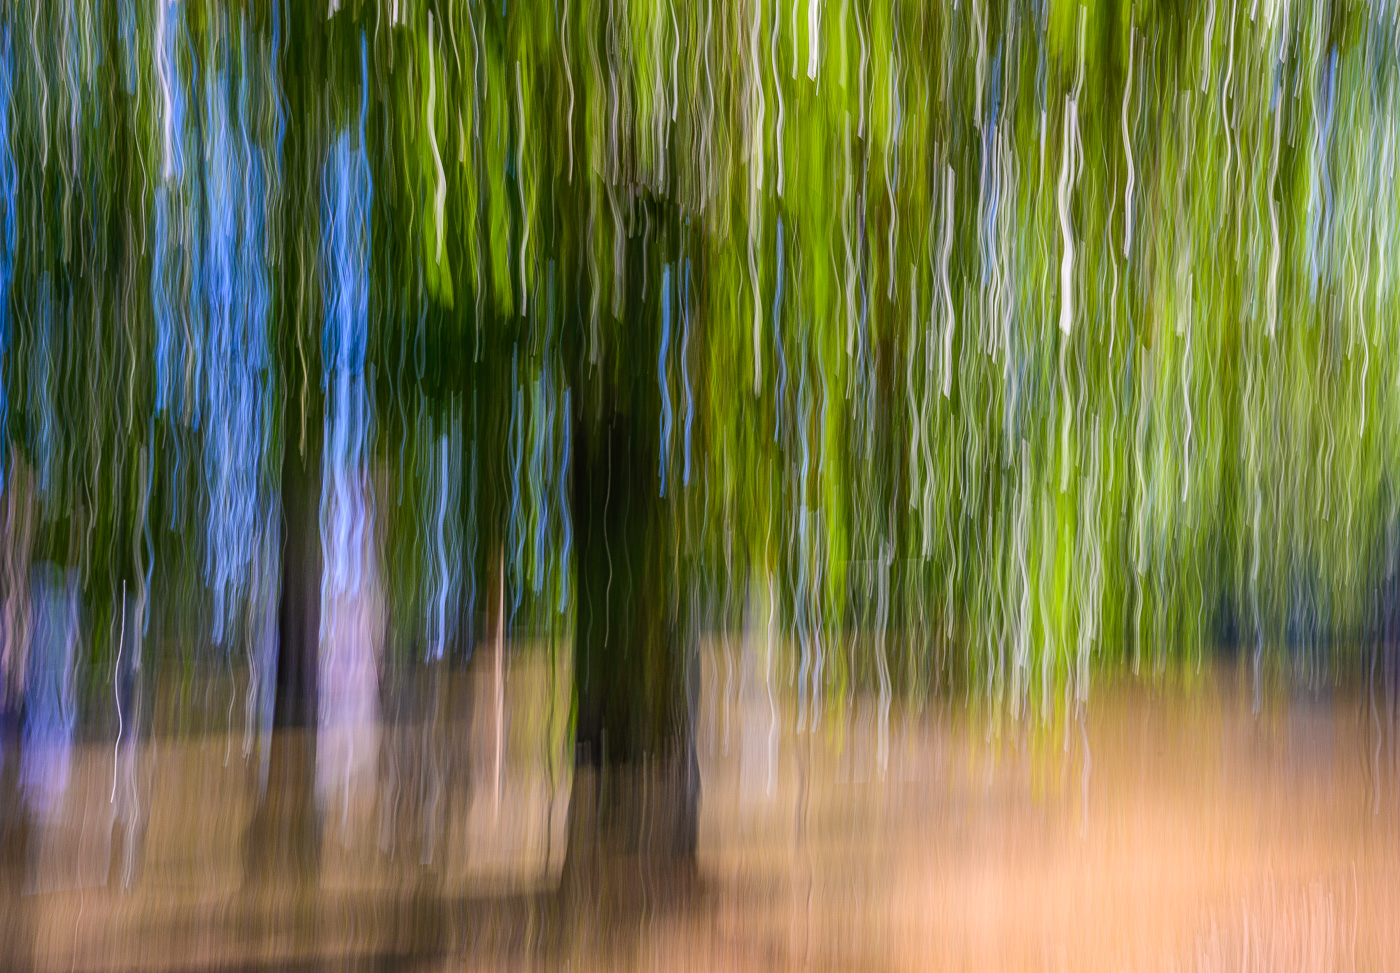
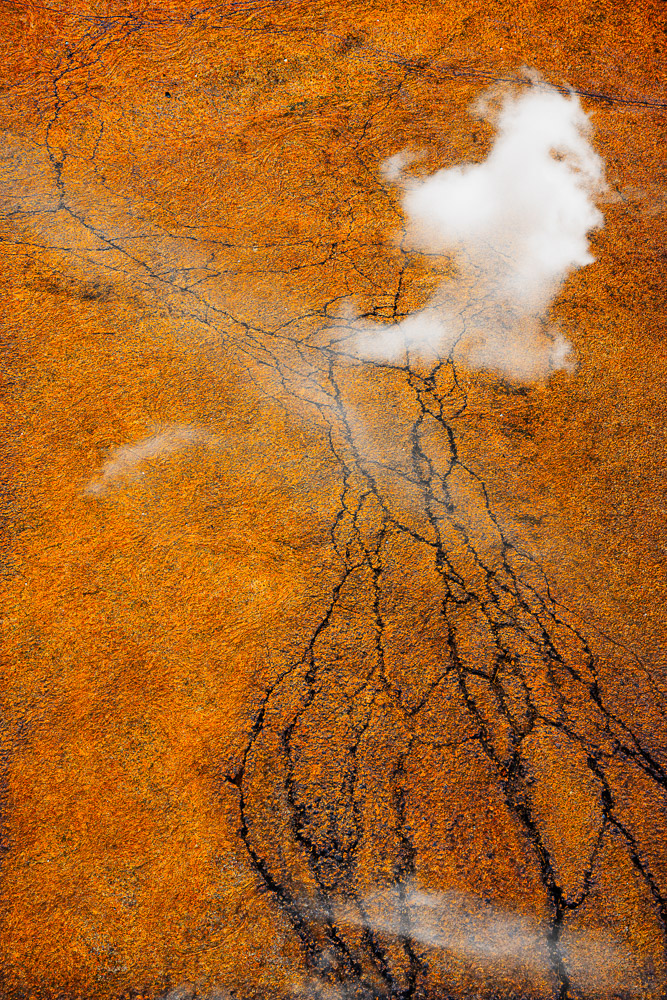
How
My methodology was just to plow through it from beginning to end. I did not attempt to organize images by subject or style or anything. It is just a huge, roughly chronological list of my top-rated pictures.
My criterion is that any image in this top group meets my standards. I should be able to randomly select any one and I will be glad to hang it on my wall or enter it to a show. Of course, I don’t like each one equally. I have favorites. But any of this top group should be a very good representation of my work.
All the images are in a collection in my Lightroom Classic catalog. In general, the goal is to examine each image and keep or demote it. These are ones that have made it to the top of my list. In no case did I delete any pictures, except for a couple of cases of duplicates. Rejecting an image from my top category means demoting it a level, not removing it.
If things were actually that easy, it would have gone faster. The reality is that it is hard for me to keep from “improving” some of them. So, I occasionally take side trips into editing. I enjoy that, but it is a time sink.
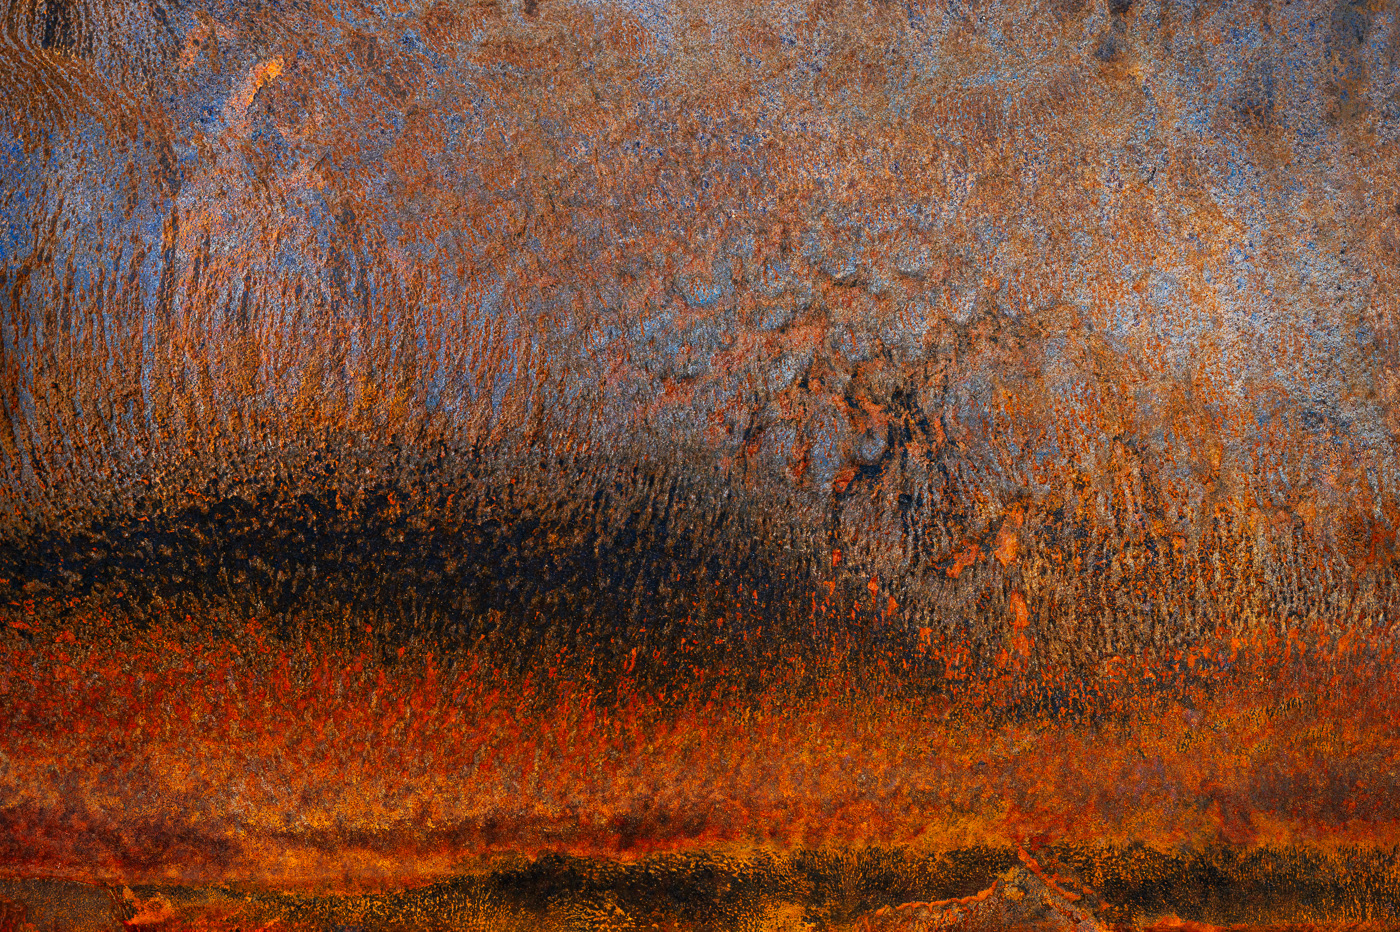 ©Ed Schlotzhauer
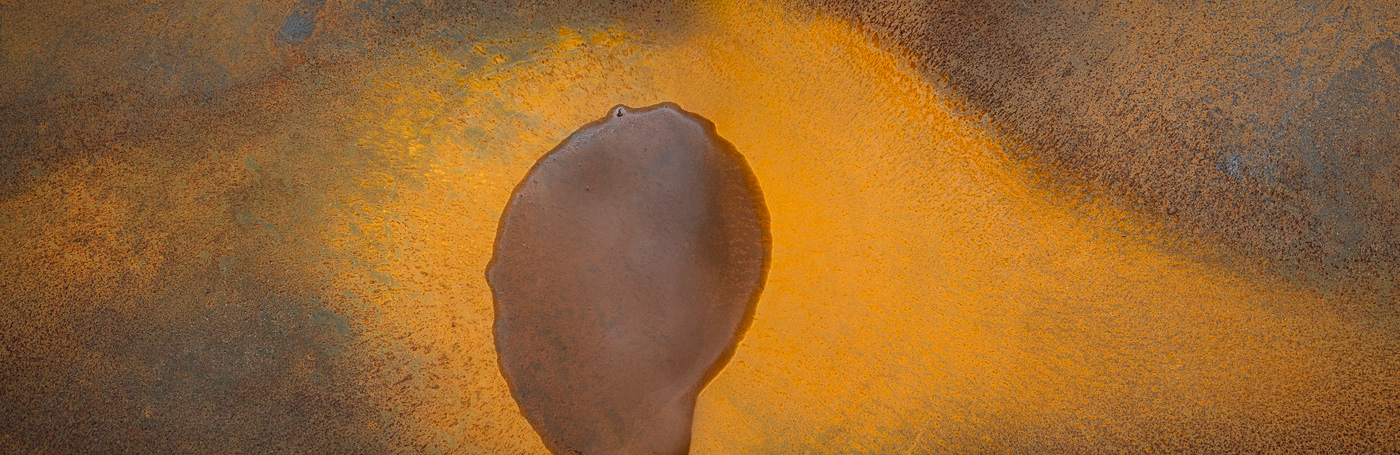
What did I learn
I went back through nearly 20 years of images in my Lightroom catalog. I have used Lightroom since its beta release. It’s first production release was in 2007. That is quite a trip down memory lane.
I have not had time to do an intense analysis, buy here are some observations.
20 years ago, I was more active, willing to do more vigorous physical activity in any weather. I have slowed down (or gotten smarter). I still get out in a lot of weather, but fewer long back country treks.
Way back, I seem to have been a little more willing to shoot anything that was mildly interesting. Now I am older and more cynical and judgmental. I have lost some of the child-like wonder of the world. I am less likely to shoot if I don’t feel it will be a good picture. This is something I need to work on. Staying in a state of wonder is important to me.
Many of my oldest pictures are travel related. I still shoot a lot when traveling, and I like it, but I have improved my mindfulness and attention in everyday shooting near home. This is good.
My old pictures tend toward technical perfection and formal compositions. I have moved quite a way beyond that. For one thing, I’ve developed more taste for movement, both intentional camera movement and subject blurring. “Perfection” has a whole different meaning for me now. Abstraction is more common.
I’ve always had a “good eye” and the ability to isolate interesting events and creative compositions. It has gotten more refined with time. That is encouraging.
Many of the themes I used to shoot are still well represented in my newer work. I haven’t run off in wildly new directions. One thing I do note is that I seldom photograph people anymore. This is a shame, because I like a lot of what I did in the past. But times seem to have shifted, and I don’t want the potential hassles that can come with it anymore.
It is probably fair to say my older work showed more youthful enthusiasm while my newer work is more mature and investigative. I’m sure there are deeper insights that will come with more thought.
 ©Ed Schlotzhauer
What’s next
If I was really going to do this rigorously, I guess I would create sub-collections of these surviving top images by topic: all landscapes, all architecture, all travel, etc. That way I could more closely compare the changes that have happened in the treatment of similar subjects over time. I probably won’t.
E.B. White said that “analyzing humor is like dissecting a frog. Few people are interested and the frog dies of it.” I think it would be like that for me if I did such a detailed analysis.
I’m not really that interested in the fine points of how I have changed. I will just note that it happened. The reality is that I wanted to sneak up on that question I was afraid to consider too openly: is my current work as good as my old work? With some reservations, I will say that the new is good.
What I do observe and mentioned before is that I have lost some of the child-like wonder and innocence that used to be there. I need to do more stupid, crazy, improbably things just to see what happens. Even if I’m pretty sure it won’t be a keeper. Just to see it.
 ©Ed Schlotzhauer
Was it worth it
It is harder to definitively say it was worth it. This took a lot of time. But yes, critically reviewing what I considered my best work over the last 20 years was worth it. Just renewing the memories was worth it.
I tried to be brutal in my screening, but I am surprised that I only “demoted” about 20% of my collection. The changes in the quality of my sensors and lenses over time is obvious. A surprise is that did not necessarily affect my perception of the quality of the images. When a jpg image taken with an old 6 MPix sensor and only a fair lens can hold its own next to one taken with a great lens on a 47 MPix sensor shooting RAW, that says it is something other than just technical perfection.
Expressing this indefinable quality still eludes me. I got some insight on the effect, but I cannot clearly put it in words. But I guess some insight is more than I had before.
I called this exercise culling. It turned out to be much more. I encourage you to do something like this as a self-check.
A parting observation
I just went through my entire collection of “good” images. I had to edit quite a few of them while I was at it. They just needed it. I couldn’t pass over them without it.
While going back through the collection to review them for this article, I had to edit some of them again. Even though I had just been through them.
This brings up something I have learned about myself over the years: an image is an opinion that changes with time. Even over the course of a few weeks, I can change my opinion. This is one reason prints are important. They freeze an opinion at a point in time.

 ©Ed Schlotzhauer
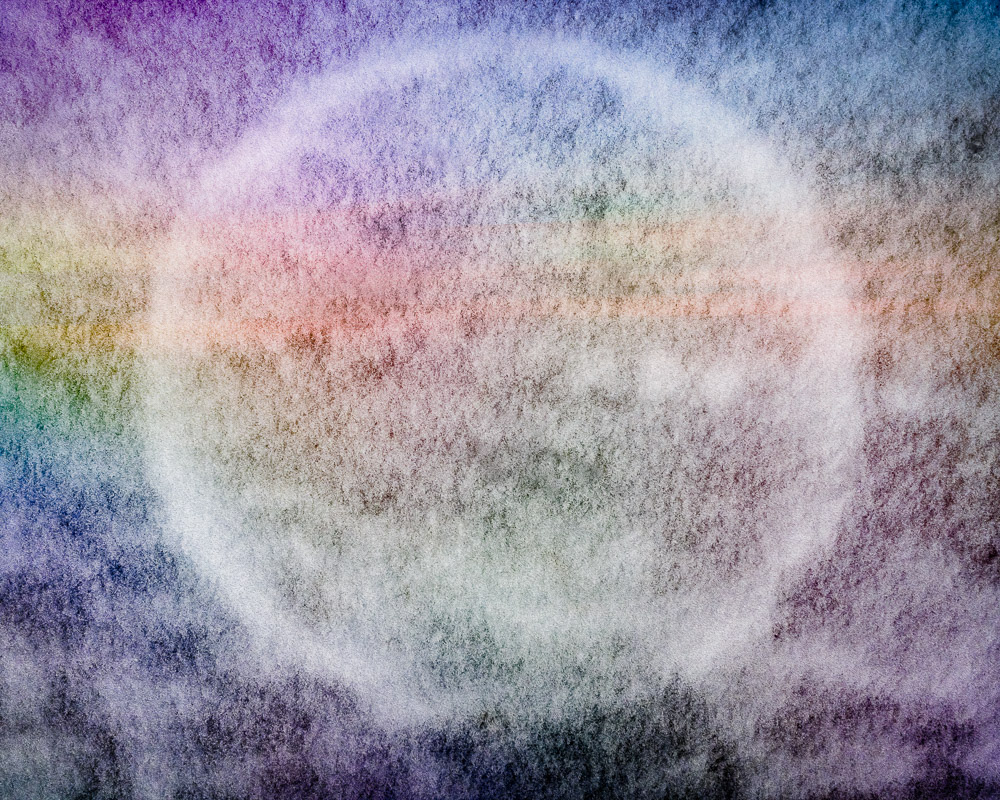 ©Ed Schlotzhauer
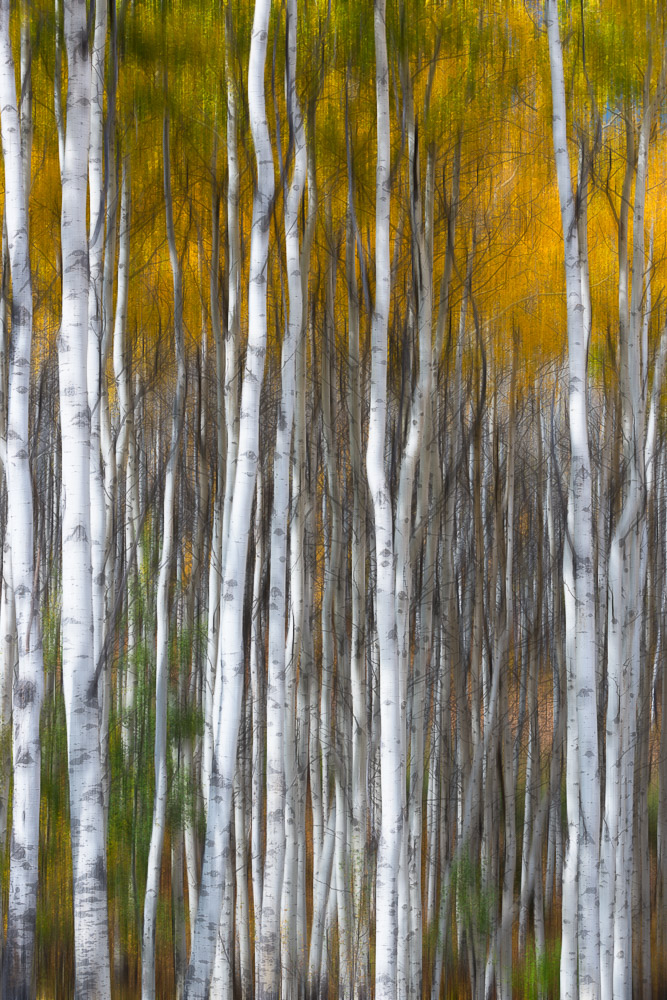 ©Ed Schlotzhauer
 ©Ed Schlotzhauer
 ©Ed Schlotzhauer
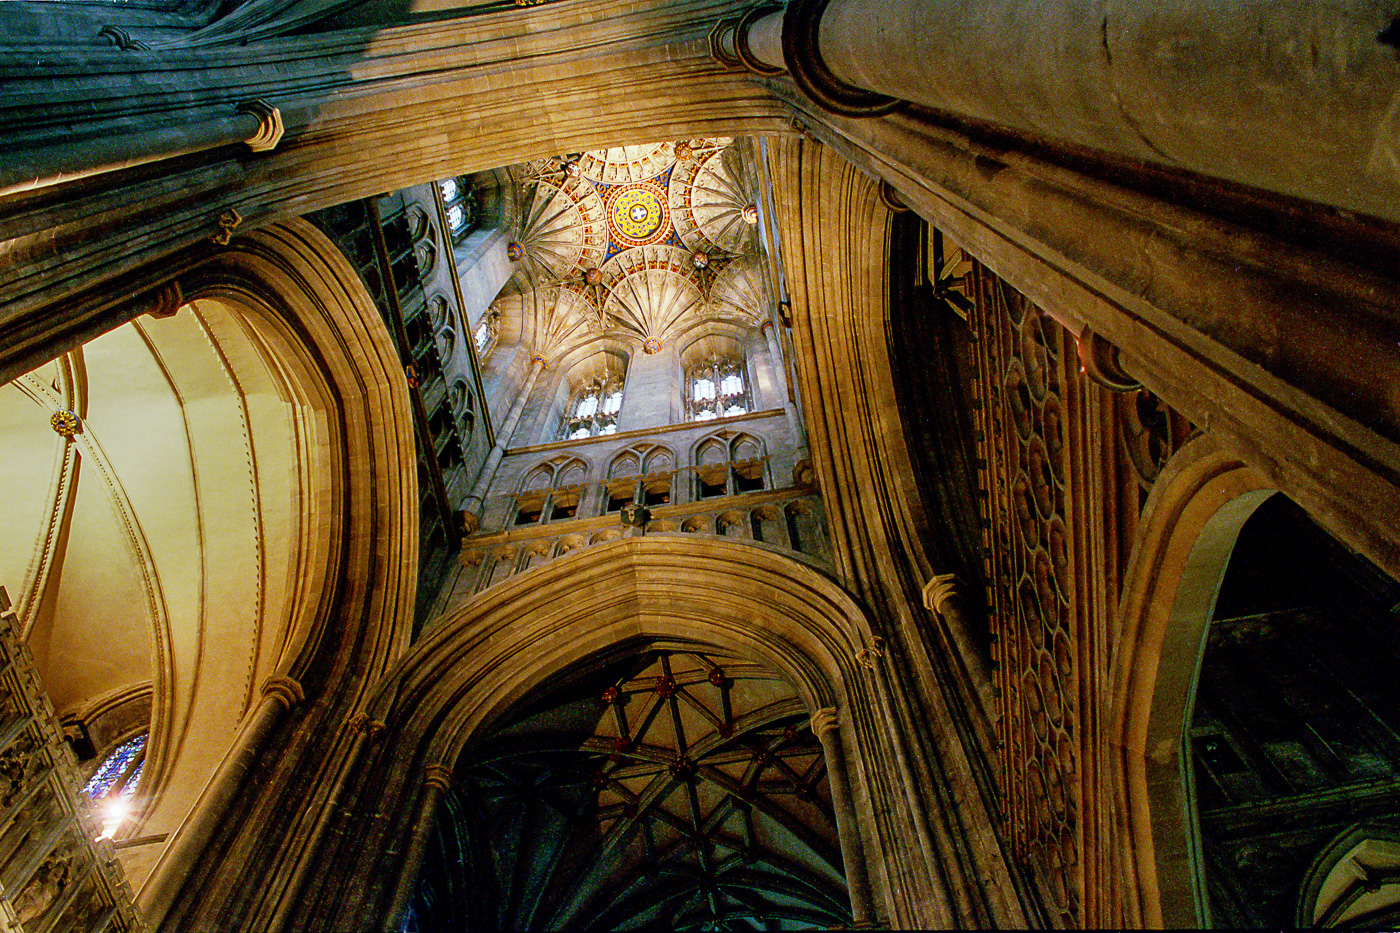 ©Ed Schlotzhauer
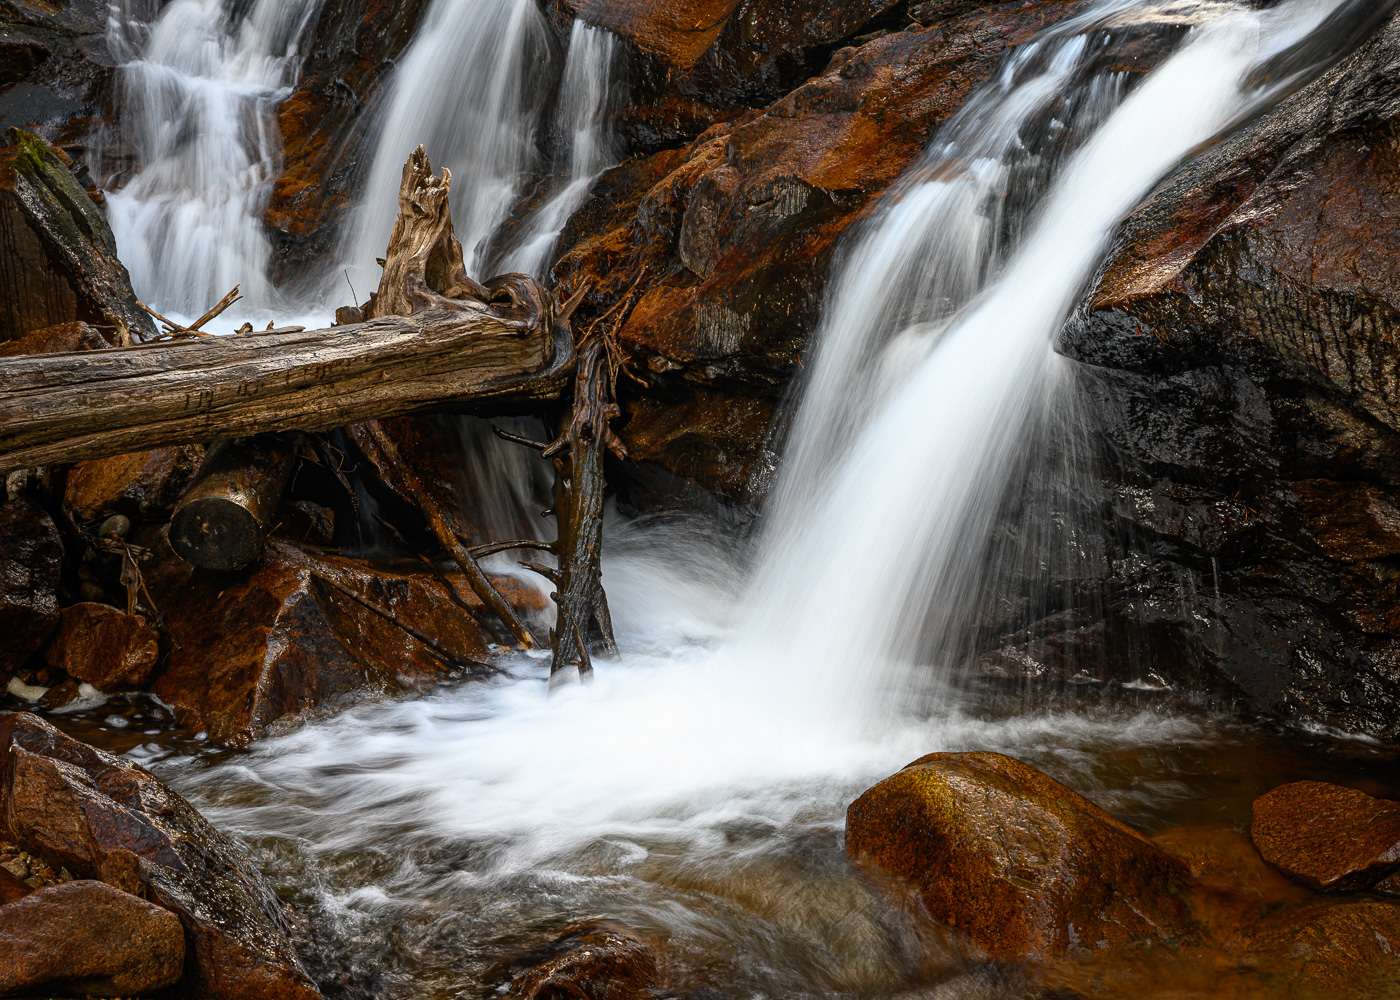 ©Ed Schlotzhauer
 ©Ed Schlotzhauer


 ©Ed Schlotzhauer
 ©Ed Schlotzhauer
 ©Ed Schlotzhauer
 ©Ed Schlotzhauer
 ©Ed Schlotzhauer
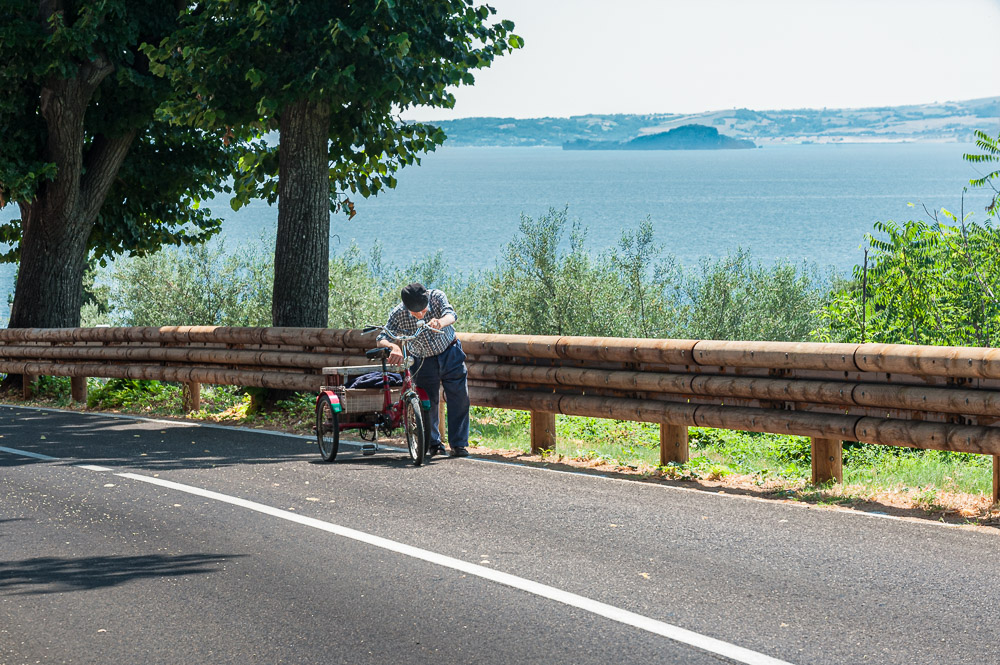 ©Ed Schlotzhauer