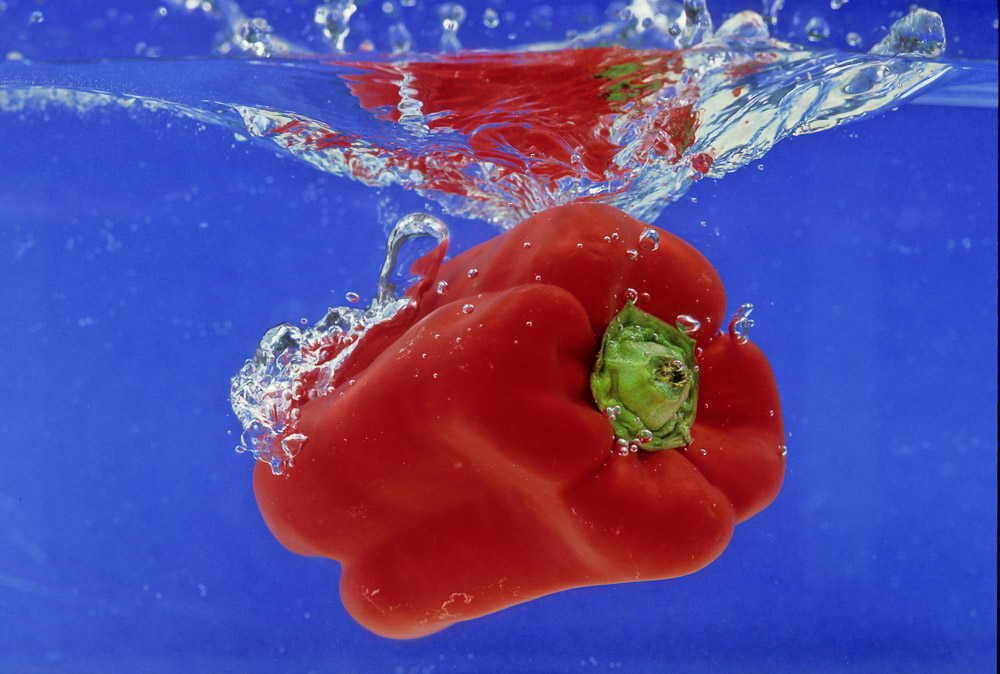
No, I’m not giving advice on fashion trends. You probably wouldn’t want to follow my lead. But I can talk some about image sharpness. Photographers often obsess over getting the sharpest possible image. Today I want to give an overview of the factors that make an image look sharp and some that make it not sharp.
Sharpness chain
I described the transforms in the image capture process as the sharpness chain. Physically and logically there are several components that light has to go through before we have an image on our screen to view and edit. In may be more precise to describe this as the “unsharpness” chain, because unfortunately, every step along the way degrades the image to some extent.

The original image is, by definition, “perfect” since it is the original. The light then goes through a filter (if you use one, I usually do), the lens itself, the Bayer filter to do color separation, the sensor chip, various processing stages in the camera hardware, and the raw conversion. I include the raw conversion here because the image is not editable until this has been done. There is no gain at each of these stages. This means that each stage degrades the image.
This is not to be discouraging. Modern cameras and lenses are fantastic. “Fantastic” means they degrade the image less than ever before in history. This is not a bad state of affairs. If you are using excellent equipment all along the chain you can achieve some great theoretical results.
Focus
Oops, I said theoretical results. What I mean is that under perfect conditions the camera system can produce excellent results. But we may not always apply the best techniques when we are using the equipment. There are many things we can do to make the image sharpness worse.
Focus, for instance. My eyes are getting old and weak. I usually rely on the camera auto focus system. And these do a great job now. But did I move the camera after focusing? Did I focus on the right part of the composition? Is the light level bright enough to allow the camera to work properly? Was it properly locked down on a good tripod to keep things rigid?
Motion
Another problem is camera shake. Pixels in modern sensors are so tiny that very little motion can smear light over several pixel sites. Yes, my camera has internal image stabilization, but this does not entirely compensate for bad technique.
Way back in the film days we used a rule of thumb of 1 over the film speed to estimate the minimum shutter speed. That is, if using 200 ISO we should be able to shoot at 1/200 of a second and be able to maintain adequate sharpness. Sensors are so fine pitched now that I think the rule should be around 2-3X the ISO to be conservative. So at ISO 200 I should probably shoot at 1/400 to 1/800 second handheld to get good results. Best to always use a sturdy tripod.
Another common problem is subject motion. This is when the subject is moving relative to the frame during the time the shutter is open. If the subject is moving “enough” you end up with a blurry streak. If this was not the intent you were after, it is an error caused by bad technique. You have to get the shutter speed up enough to “freeze” the subject.
It is an internal fight with me to make myself raise the ISO speed enough to get the shutter speed I need. I have years of history that images were too noisy unless I stay down around 100 ISO. But with modern cameras it is much less of a problem. My default ISO is usually 400 now. I know that I can go to 3200 and still get good results in many situations. I just have to make myself do it. When I don’t I often get blurry images.
Diffraction
One of the things we worry about a lot is depth of field (DOF). This is sort of an illusory concept. It is an attempt to quantize how much of the area from foreground to background is in focus. The reality is only a very small slice is actually in focus. But DOF describes how much is in “acceptable” focus. But acceptable varies with taste and application. There is no official definition of DOF.
One way we try to cheat the system is to stop the lens down more to increase DOF. It sort of works. It seems to work. But it is not free. Going to a 2 stop higher f-stop number, like f/16 instead of f/8 means that you are letting in 1/4 the light (it’s logarithmic). It also means you are incurring diffraction effects.
Diffraction is a complex phenomenon. I will just say that at physically smaller apertures (say f/16 and smaller) the perceived sharpness of your image decreases. So don’t just automatically slam your aperture to f/32 to always maximize DOF. It has downsides. Most lenses have a “sweet spot” around 2-3 stops down from the widest aperture. If you have a great f/2.8 lens it probably has optimum sharpness at around f/5.6 to f/8.
Diffraction is a real phenomenon of physics and I see it all the time. Don’t let me scare you, though. It is one of the tradeoffs. As an experiment sometime put your rig on a tripod and shoot a spread of the same scene at, say, f/5.6, f/8, f/11, f/16, and f/22. Don’t change the focus point. When you examine the images on your computer at at least 1 to 1 size you will see a fall off of sharpness at f/16 and smaller. On the other hand, the perceived DOF increases at the smaller apertures.
Trading off DOF and diffraction effects is just one of those balances that photographers have to be able to make automatically. It’s all an artistic judgment. No right or wrong.
Sharpening
Regardless of how good or bad your equipment and technique is, at the end of this chain you are now in your computer looking at the image. What can you do?
First off, expect your image to look blurry when you first view it. What?? I paid thousands for this equipment and it makes blurry images? Yes. if you shoot raw images (always shoot raw unless you have a very good and specific reason not to), almost no processing has been done on it when you first see it on screen.
All those steps in the sharpness chain guarantee that is seems less sharp to you than you expect. Don’t worry. If you have done your job well you have good data to work with. We can do wonders to increase the perception of sharpness.
It is the “edges” in your image, the transitions from darker to lighter, that give the perception of sharpness. We have many tools and techniques these days to increase the contrast of these edges.
Lightroom tools
If you work in Lightroom, as I do, (or Camera Raw, the equivalent) the Presence section has 2 magic tools: Texture and Clarity. Clarity is a bigger hammer. It increases edge contrast overall. It can really make an image seem to pop.
Texture is fairly new. It is kind of like Clarity, but gentler and more selective. Increasing Texture concentrates on mid range edges. That is, it ignores the most contrast and least contrast edges and enhances the middle ones. This is a subtle and more fine-grained control. It is a welcome addition to the tool kit.
Then for finishing an image there are the traditional Sharpening controls in the Detail section. This lets us tune the overall effect by controlling the amount, radius, and detail of the sharpening while being able to use the mask control to adjust the area it is applied to.
These Lightroom controls are often all that is required to achieve great perceived sharpness. The more I learn the more I am able to completely finish many images using only Lightroom.
Photoshop tools
Your workflow or preferences or image needs may take you to Photoshop, the traditional big gun for image processing. There are several tools and techniques that can be used to increase perceived sharpness.
My go-to tool for Photoshop sharpening is the Smart Sharpen filter. This gives marvelous results and lots of control. It even effectively lets us use Blend-If to selectively fade the sharpening application to highlights and shadows. It is a great tool. And yes, you can go crazy and make the image look horrible, too.
Another traditional filter is Unsharp Mask. I won’t try to explain why blurring can cause the image to look sharper. It is one of the great mysteries of photography. Maybe a future article. Anyway, this is a software simulation of a technique used by film people to increase sharpness of their prints. It works well. It has somewhat less control than Smart Sharpen, but it is good.
Then there is the HIgh Pass filter. You almost have to be an engineer to understand the concept, but basically it increases the contrast of the tones at edges to make the image look sharper. It is a very old tool, but it works great for some things.
There are many possibilities in Photoshop, but I will stop with the Sharpen tool. It is a tool, not a filter. It is brushed on. This lets you brush a sharpening effect very selectively where you want it. It works, but be careful. It is a destructive tool.
Perception is reality
There are many options to use and most of them can be combined in various ways to meet your needs. But in the discussion, I kept talking about the “perceived” sharpness. This is the reality of our imaging world. All those stages in the sharpness chain lose quality. The operations we can do in software can make our image look very good. But all these tools we use are trying to simulate what the original scene or our creative vision looked like. All operate on the principle of enhancing edges to make the image look sharper.
These operations do not actually make the image sharp. They make it appear sharp to the viewer. Maybe it is too fine a distinction. For most of us, all we care about is that it looks good.
If an image is actually out of focus or blurred badly from camera shake or subject motion we cannot make it perfect. Yes, AI is getting better all the time, but it can’t really make something out of nothing.
The good news is that these days we have excellent tools for controlling perceived sharpness and making our images almost as sharp looking as we wish.