All 2-dimensional art exists within a frame. The frame is a powerful creative spark, because it requires choices and it strongly influences the resulting image. This is the magic of the frame. I have come to consider the process “dancing with the frame”.
Finite
I do 2-dimensional art. Most paintings or photographs are. But besides being flat, 2-dimensional works are also bounded. They cannot extend to infinity. So, a print may be 16×20 inches, or maybe 6×9 feet, but there is a limit. A print of a landscape scene is not an attempt to physically transport the scene to your wall. The image is an interpretation.
And because the print is bounded, there are edges. The edges create the frame, or more precisely the bounding rectangle of the image. I am assuming rectangular prints for the discussion. So, in simple physical terms, the frame is the box that encloses the print.
Likewise, our sensors or film are rectangular. There are pragmatic reasons for this. The point is, though, that the image we see through our viewfinder and capture in our camera is rectangular. It lives within the bounding box of a frame.
It turns out, though, that this simple bounding box gives life and drama to the content. And taking a picture is dancing with the frame. At least, for me.
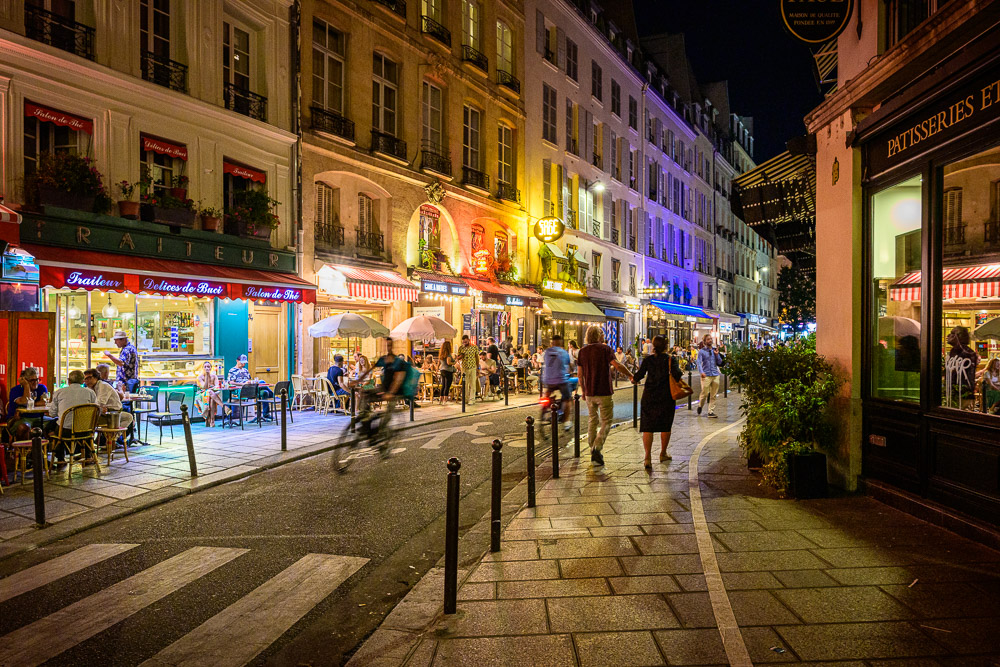
 ©Ed Schlotzhauer
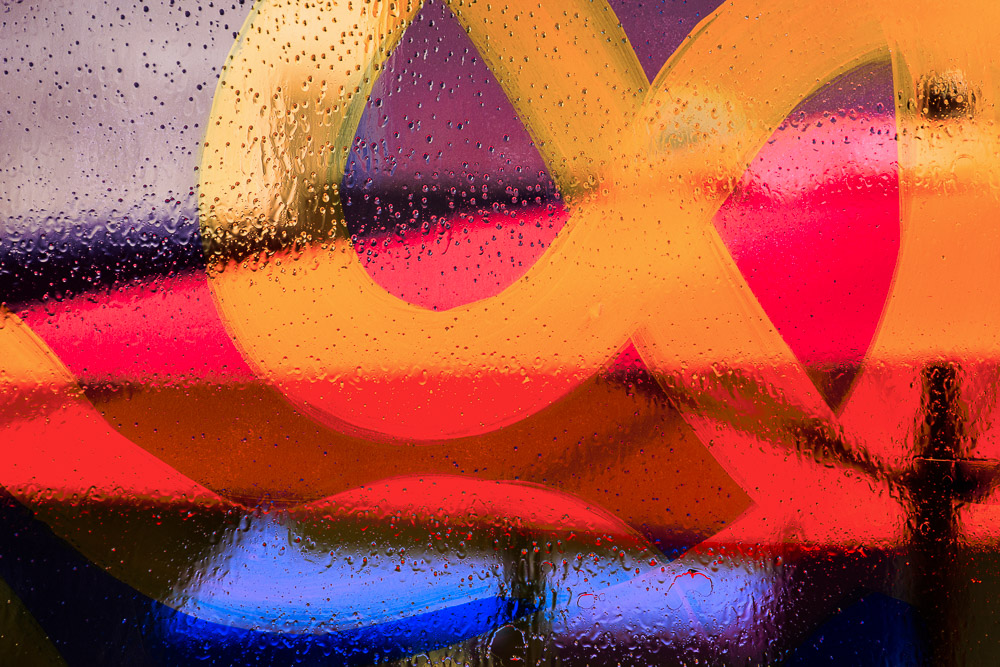
A window
The frame is much more than an annoying constraint of the shape of the sensor or print. Something magical happens when we look through the viewfinder or crop our image in our processing software.
What we see through the frame is our window onto the world. This window sparks much of our creativity. As we move and zoom and continue to examine our subject through this window we compose our image within it. We visualize the image and intuitively or deliberately decide what is important to bring out, what should be excluded, and how the parts should be arranged.
Since we are photographers, we are usually working with an existing scene, at least, I am. We seldom can go physically re-arrange things to suit us – at least I don’t. Instead, we must change our position or lens selection to arrange the parts in what we consider the most advantageous orientation.
We may realize the interest is not the whole scene, but only certain parts of it., and they should be presented from a certain point of view. So, we adjust our window and keep searching for the magic.
After all, if we are an artist, we want to bring something to our viewers that is more than just what anyone would have shot if they walked up on the scene. We bring our own interpretation. A big part of this is how we decide to arrange what we see in our window.
 ©Ed Schlotzhauer
Composition
Over the centuries many “rules” of composition have been formed. I put it in quotes because there are no real rules. The “rules” are observations of patterns that have been found to be generally pleasing to viewers.
It was very interesting to me to realize that most of these “rules” are defined by or relative to the frame. Let’s look at a few.
The rule of thirds helps to increase dynamic tension by placing the subject along the intersection points of dividing the window into 3 groups horizontally and 3 groups vertically. This is totally relative to the frame.
Along with that is the oft quoted “do not put the subject in the center” – of the frame.
The horizon should be level – relative to the frame.
Diagonals can add a lot of interest to many compositions. The diagonals exist because of their relation to the frame.
Leading lines are often recommended. They help encourage the viewer’s eye to lead from the edge of the frame to the subject and keep them exploring.
We need to be careful to not have distracting elements at the edges of the frame.
Unless it is really your intent, we must be careful to not cut the subject off at the edge of the frame.
This could go on a long time. Go examine your favorite composition rules and see how many are describing relationships to or within the frame.
 ©Ed Schlotzhauer
The dance
What I describe as dancing with the frame comes from my typical shooting style. I am mostly an intuitive photographer. I don’t carry flip books of composition ideas or sample books of other photographer’s work. My shots are seldom pre-planned.
When my subconscious notifies me that there is potentially an interesting shot nearby, I get engaged. I seem to know from experience the lighting and exposure details and camera settings. Those don’t occupy much of my thought. The dance really starts when I raise my camera to my eye and see what the camera sees. What I perceive through the viewfinder now becomes the main focus of my attention. The view in the frame.
Now I can inventory what I have to work with in the scene. It probably looks like a performance art to the observer. I move and zoom and bend and twist to rearrange things in the frame. What is important? What needs to be minimized? Are there diagonals I can use? Where should I move to make the composition pop? Are there distractions at the edges that I could remove by repositioning?
These decisions seem to flow effortlessly during the dance. It is kind of like manual focusing. Turn the focus knob. Did it get better or worse? If worse, go the other way. Keep going until it gets clear then starts to get blurry again. Carefully go back a little to where the peak sharpness was.
Working within the frame is like that to me. It is a dynamic process of optimizing. The big difference is that, with manual focus, the results are objective. Composing within the frame is an intuitive process of real-time judgment. That is part of what makes it hard but fun.
 ©Ed Schlotzhauer
Artist’s judgement
So, part of the work of a photographer is to arrange the elements within the frame in the most pleasing or impactful way. This is the magic of the frame. The frame imposes a dynamic tension between itself and its contents. It is the canvas where we compose. It is the crucible where our creativity is tested. I can only do it well while looking through the viewfinder.
Since the camera sensor captures everything in the frame, it is not only critical to arrange the elements as we wish, but it may be as important to know what to exclude. That is one of the tricks of photography. What is in view of the sensor will be in our image unless we consciously figure out how to eliminate it.
Much of the artistry is in working the frame: figuring out what is significant and how to present it within the frame. It is the stage where we work our magic. It turns out that the frame is more important in our work than we usually express. This is what, to me, is the magic of the frame.
 ©Ed Schlotzhauer
 ©Ed Schlotzhauer
 ©Ed Schlotzhauer
 ©Ed Schlotzhauer
 ©Ed Schlotzhauer
 ©Ed Schlotzhauer


 ©Ed Schlotzhauer
 ©Ed Schlotzhauer
 ©Ed Schlotzhauer
 ©Ed Schlotzhauer
 ©Ed Schlotzhauer
 ©Ed Schlotzhauer
 ©Ed Schlotzhauer