
Photography is a process of transmogrification – a transformation of one form to another. It’s a wonder an image ends up a recognizable representation of a scene. Some don’t.
Transmogrification
If “transmogrification” is unfamiliar to you, you are probably not a Calvin & Hobbs fan. I am a shameless fan. In my opinion, it was one of the most creative and humorous cartoon strips in history.
Calvin (a little boy) and Hobbs (his imaginary friend who is a stuffed tiger) were always getting into typical little boy trouble. One of his “inventions” was a transmogrifier, a device (cardboard box) that could transform anyone into anything else.
One of the reasons the comic is meaningful to me is that I had 2 active boys who always pushed the limits, and then some. Now, I have another newborn grandson, so I will be starting over in that world.
I thought the author, Bill Watterson, invented the word, but it turns out to have been used as far back as 1671. It is a real word, not a made-up cartoon word.
Not deep philosophy
This discussion of the transformations that take place in making a photograph will be purely practical. I will not get into philosophical questions. We could do long analysis of indexicality or semiotics or formalism or the photo theories of John Szarkowski or any of dozens of other theories that attempt to explain why we see what we see.
I don’t avoid this just because I am not capable of the deep thought. My nature is to be more of a pragmatist in my basic life philosophy. That’s why I went into Engineering rather than Science.
A theory of why I made a particular image may be of a little bit interesting to me. It might help me to understand my process and vision. But I don’t think it benefits my viewers or really changes the final image.
To someone viewing my image, it is what it is. It has to stand on its merits as they see them. I may have had deep theoretical intent behind what I did. but they don’t care. And despite any philosophical basis I may have used, if I don’t like the image either, it is useless. Don Giannatti recently said on Medium “A good photo is a good photo.” So true
A series of transformations
There are 3 main groups of transforms between a scene and a final print: in our head, in the camera, and in the computer. I include our head because it is probably the most important one. I will only describe a raw image processing path, since that is all I use. When I talk about a processing step, I mean a point where the result can be altered.
 ©Ed Schlotzhauer
We see a scene and our brain goes through a lot of steps before we are even close to pressing the shutter release. We evaluate what we are seeing, determine what is significant, decide how we feel about it, what is our intent in taking this picture and if it is even worthwhile, and generally how we will compose and frame it.
These steps may happen rapidly and instinctively, or they may be a slow deliberate process. That depends on the situation and our shooting style and our experience. But they probably happen.
Camera transforms
 ©Ed Schlotzhauer
Assuming we decide to take the picture, now several processing steps take place within the camera. First, the light from the desired scene comes in through our lens. The lens determines the field of view, wide or narrow. It also “contributes” its own distortions – the MTF, barrel or pincushion distortion, chromatic aberration, vignetting, etc.
After or within the lens is the aperture. This opens or closes to let in more or less light. As a side effect, the aperture size determines the depth of field – the amount of the image that is in sharp focus. Focus depth is one of the creative decisions unique to photography.
Then the light is controlled by the shutter. The shutter opens for a precisely controlled amount of time when the photographer presses the shutter release. That opening time controls the amount of light that can pass through. The aperture and shutter work together to provide two of the key variables that determine exposure. The side effect is that shutter speed also determines the perceived motion blur of the scene. This is another creative decision.
Next, the light hits the sensor where photons are converted to electrical signals. The total number of pixels is fixed here, as is much of the quality of the final image. The sensor also introduces some kinds of noise into our data.
A deep, dark secret that many people do not internalize is that at the sensor, the information is “analog”. That is, it is varying levels of electrical signals. It goes through an Analog To Digital converter (ADC) to digitize it. Gain is also applied here as determined by the ISO setting. Higher ISO values apply more gain to boost the signal. There is a tradeoff the artist must make about the ISO setting, the amount of gain, since that determines a lot of the noise in our image data. Each pixel’s electrical value is digitized to create the matrix of digital values representing the image.
Next the digital data flows through the digital signal processor (DSP) section. Each manufacturer applies its own proprietary “secret sauce” of processing to enhance the response of the sensor. This is why there is a Leica look and a Fuji look, etc. A jpg image is also processed from this to create a quick preview of the RAW data. The data is assembled into RAW data format for storage and then written to the memory card.
The memory card receives the raw data that represents the image as processed by the camera.
All these steps are just what is within the camera. I have not even mentioned our decisions of how to orient the camera or support it. Is it fixed or intentionally moving? Where is it positioned in relation to the scene? These decisions were probably made at the “head” stage.
Computer transforms
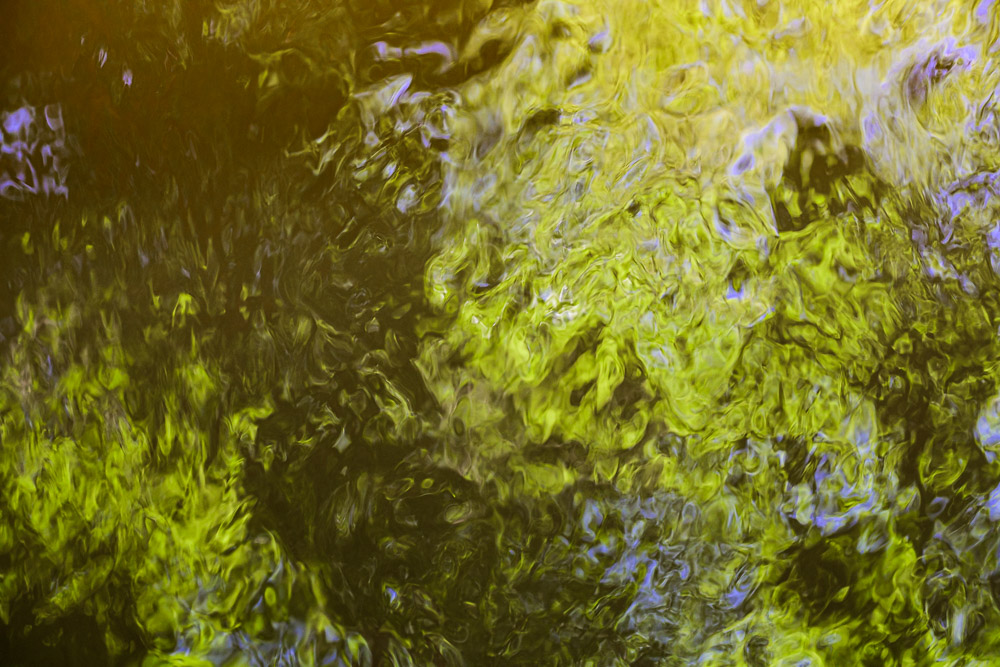
 ©Ed Schlotzhauer
We typically take that memory card and read its contents into our computer through a cataloging program such as Lightroom. Now the data is stored locally on our computer system for access.
The type and amount of processing that can be done here is too vast to describe. We might use Lightroom or Photoshop or Topaz or any of several other software applications to operate on the pixels, bending and shaping and polishing them to our satisfaction. We may crop or delete large sections, combine images in various ways, change color drastically, even to black & white. There is little limit.
Finally, to make a print, our print processing software uses profiles for the printer and paper we will be using to re-transform the image to a new color space. This is necessary to create a print that mostly matches what we see on our monitor. Raster Image Processing is used to do error diffusion and other complex calculations to create a new representation that creatively shapes the pixel values to patterns of microscopic ink dots that will produce the final image. The printer sprays the ink onto the paper substrate.
We now have an image.
Uniqueness of photography
This series of transformations partially serves to define the basic difference between painting and photography. It should be clear that a photograph is a capture of all the light and forms that was seen by the lens. Everything gets recorded.
The photographer has command of composition and viewpoint and lens selection and exposure to control what gets captured. But everything that was there is recorded. One of our jobs is to carefully select what to record, removing distractions.
Distraction removal often continues to the post processing steps. And new elements may be added to the image. These happen long after the image is captured by the camera.
A painter starts with a blank canvas and adds the elements he desires. Nothing can be there unless it was his intent to place it there. If he didn’t paint it in, it does not exist.
Photography is a subtractive process while painting is an additive process.
Over time we photographers learn how to control what ends up imaged on the sensor. We must be vigilant as we are looking through the viewfinder. Learning to actually see all the faults and distractions is a skill. Learning how to deal with them is part of our art, as is learning how to process the image to end up with the result we want.
 ©Ed Schlotzhauer
The chain
As we can see, there is a complex chain of transforming steps that an image goes through between the “real” scene and the resulting depiction in a print. Most of these steps can seriously change the final result.
I take 2 main points from this: all images are modified and as artists we exert the control over the intent of what we are creating.
An image is not the object or scene. It is possibly a representation of the original. Or it can be completely different. I intentionally avoid any discussion of referent philosophy, other than to say a picture is not the original thing, it is an image that may or may not have something to say about the thing..
How the image corresponds to the “real” scene is the artist’s choice in creating the image. As artists, we have an abundance of control points in the process. How we choose to use them is our decision. It is what we do as photographers. The result of all these transformation steps is an expression of our artistic vision.
I called it transmogrification because the complexity of what is going on is almost science fiction or fantasy. But this is what we deal with every time we take a picture. As photographers, we must understand this chain. We do not have to understand all the technical details, but we must be able to use the steps available to us to create the image we want. As artists we must understand how to control all this technology to shape the final image to our vision.
It’s a great thing, though. Taming all this technology and learning to use it well is part of the joy of being a photographer. It gives us tremendous creative freedom.
Ultimately, though, our viewers do not care at all about our technology. They only look at the image and decide if it is worth looking at for more than an instant and if it has some relevance to them. Technology, like good magic, should be invisible.

 ©Ed Schlotzhauer
 ©Ed Schlotzhauer
 ©Ed Schlotzhauer
 ©Ed Schlotzhauer
 ©Ed Schlotzhauer
 ©Ed Schlotzhauer
 ©Ed Schlotzhauer
 ©Ed Schlotzhauer
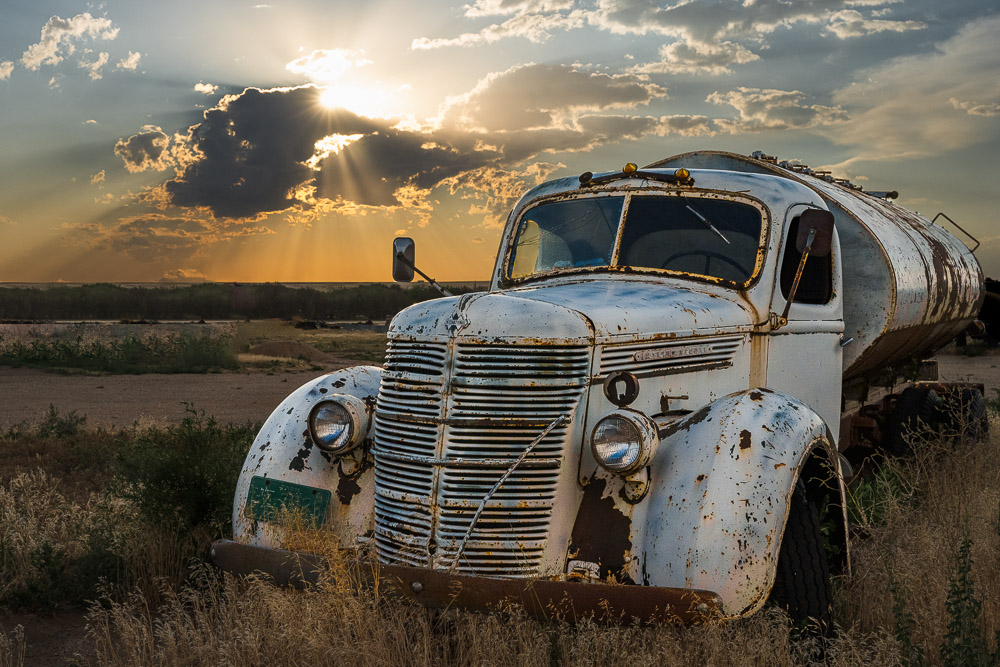
 ©Ed Schlotzhauer
 ©Ed Schlotzhauer
 ©Ed Schlotzhauer
 ©Ed Schlotzhauer
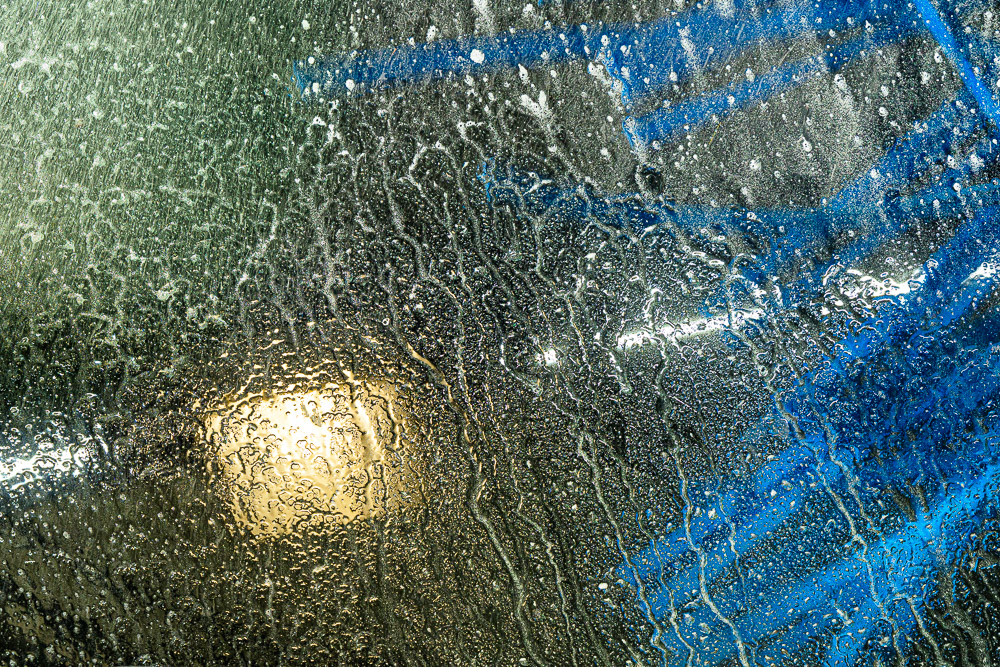
 ©Ed Schlotzhauer
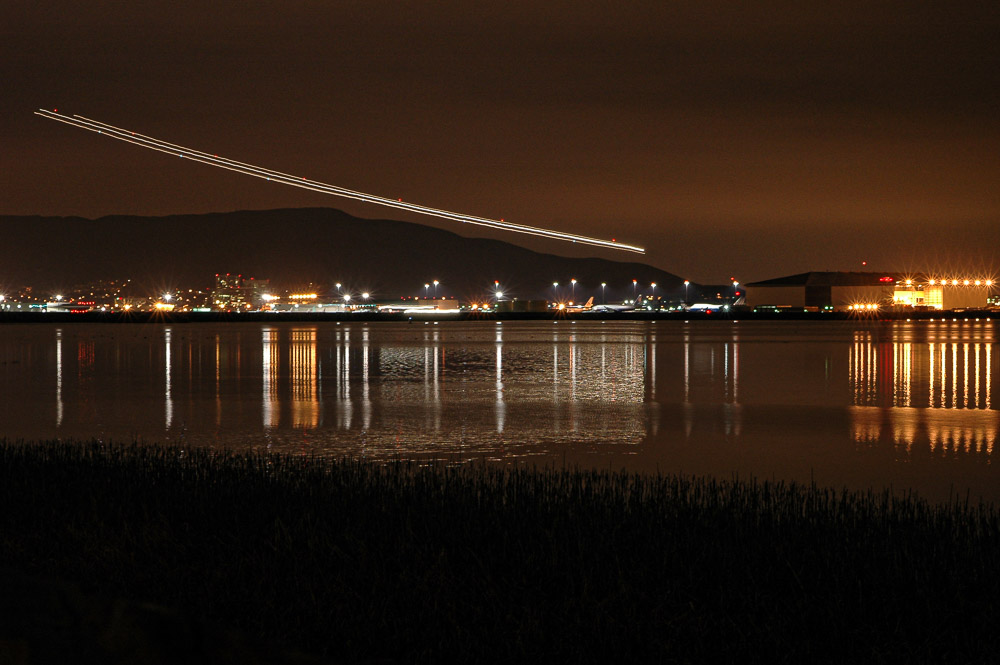 ©Ed Schlotzhauer
 ©Ed Schlotzhauer