Pixel Damage

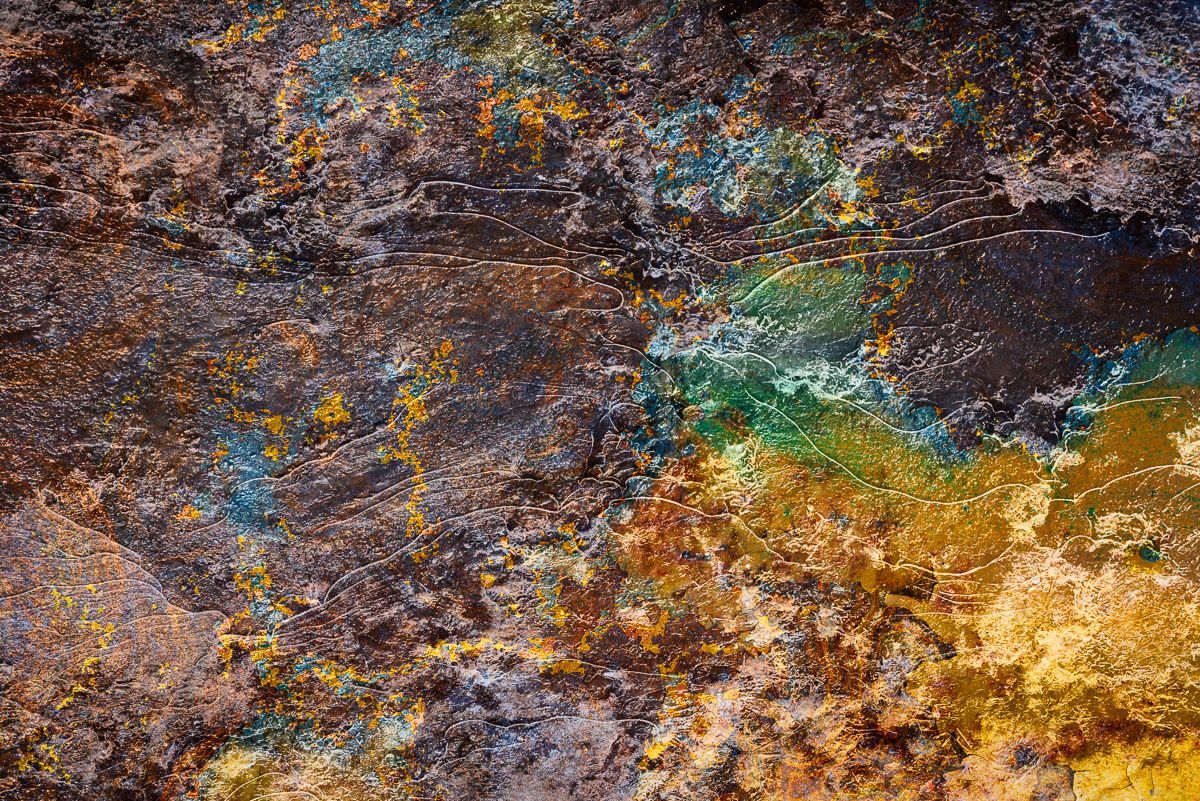
Old image barely salvaged from poor Photoshop editing

Our images are precious. They are our vision, our creation. We need to treat them with care. Photoshop makes it too easy to damage your pixels. But with some training we can learn to avoid the damage.

Photoshop and Lightroom Classic are the main editing tools I use and am familiar with. I acknowledge that there are other good tools, but I don’t use them. LIghtroom (I will just call it Lightroom because I think Adobe’s branding scheme is dumb) has the distinct advantage of being totally non-destructive. It is impossible to do any edit on a RAW file that damages or destroys the original pixels. This is a huge win.

Unfortunately LIghtroom does not have the ultimate power and fine-grained control of Photoshop. So it is often necessary to take images into Photoshop to finish them. But Photoshop is a power tool. As with most any sufficiently powerful tool, it can be dangerous, even magical. I still see instructors training people to edit in ways that damage pixels. This is counter productive and seldom necessary.

Photoshop can do any amount of damage you want to an image

I love Photoshop. It is one of the finest pieces of software I have ever used, and I speak as a long time software architect and developer and long time Photoshop user. But is is dangerous. It will freely let you do anything you want to an image.

Many of the tools in Photoshop operate directly on pixels. You can edit, delete, modify, blur, sharpen, recolor, or paint on your pixels. These operations are destructive after saving and closing the file. That is, you can never get back to the original pixels.

This amazing power is a two-edged sword. It gives you total freedom to do anything you can imagine, but you can find out later that you cut off your foot in the process. I have images that have been severely damaged in the past because of a lack of sophistication in my editing techniques. I destructively modified the original file and saved it. Even though I have better knowledge and technique now, I cannot go back to start over with the original data.

If you use Photoshop seriously you are continuously learning new and improved techniques for doing your work. This means you sometimes change your mind and want to go back and modify images you have worked in the past. But if you have painted yourself into a corner because of poor technique, you may not be able to do that.

I hope to encourage you to learn that there is a better and safer way. One that lets you do anything you want in the confidence that you can change or modify anything in the future.

Non-destructive editing

Non-destructive editing is a holy grail of many of us who use Photoshop heavily. It is based on some fairly simple principles that are easily learned. It works very well, is no harder to do, and leaves us able to change our mind about an image any time in the future.

This is not a Photoshop non-destructive editing tutorial. It cannot be in a short blog. I hope to motivate you to consider a more powerful way of using the tool and give you a few hints of what to pursue in your training. Dave Cross is a great instructor to learn from, as is Ben Willmore. They both have their own tutorial programs or catch them on CreativeLive.

So here is the quick cheat sheet: use smart objects, adjustment layers and blending modes. Avoid stamps, layer merge, erase, rasterize, and flatten. There, all you need to know. 🙂

Avoid these

I suggest you should avoid using stamps, layer merge, erase, rasterize, and flatten. Probably I hit one or more of your regular tools. Sorry. But every one of these permanently commits the edit state. Each one is unalterable once you save your file.

If you go back to your image a few months later and decide you had too much contrast in a certain area it is very hard to change it. You have to re-select, re-mask, try to make the changes without damaging the rest of the pixels. You are also doing a whole new edit and the result has now permanently changed the pixels to be the way you see the image right now. A few months from now…

The Stamp specifically

A favorite technique in many workflows is the stamp. You know, the “hold down the entire left side of the keyboard and E command. This is not the same as the clone stamp tool. The stamp avoids the problems of destructive edits, right? Well, sort of. Yes, it builds in “frozen” points that capture all the edits in an image below it and allows changes without destroying the underlying layers. That is good.

I hope to convince you you can do better, though. The stamped layer is a roadblock in the editing flow. It marks a point where you can’t go back. When you inevitably decide to edit a layer below the stamp the edit is not reflected up to the stamp and above. You have to delete the stamp layer, recreate it then try to remember what you did to it before and re-make those edits. You may or may not remember what all you did. Adopting a non-destructive workflow avoids this problem.

Another issue with the stamp is that it makes a copy of all your pixels. File sizes are growing almost unmanageable and the stamp makes it worse. I have many files that must be saved as psb format because the size exceeds the 4GByte limit of tiff. Large file sizes make for slower file open and save, slower editing, the need for lots of RAM, and the requirement for lots more disk space (plus all the backups; you backup religiously don’t you?).

Use these

Some things to get in the habit of using are smart objects, adjustment layers, and blend modes. Getting comfortable with these powerful techniques can have a dramatic effect on your editing. A major characteristic of all of them is that their settings can be modified any time and they do not alter pixels, just the way they look.

Smart objects are your friend. They allow you to wrap a certain state of an image in a container and use it non-destructively. That is, it is in a protective bubble that prevents any operations from the outside that damages its contents. And the smart object can be opened and edited in any way at any time in the future. So it can be changed at will. All edits to a smart object automatically flow back into the file you are using it in. Sounds like magic. Until you get comfortable with them, it kind of is. Good magic.

Adjustment layers are a simple concept that has been in Photoshop a long time. The subtlety is that there are adjustments that alter pixels but there are also adjustment layers that put a transparent sheet over the image and do their changes to that. Always use the adjustment layer. It is lightweight (doesn’t make a copy of the pixels), can be changed at any time, and can have a mask to restrict its effect to selected areas.

Blend modes come in 2 types, the blend modes on a layer or brush and the blend-if controls to feather things between layers. I don’t have the space to go into them, but they can have a very beneficial impact on your editing. And they are forever changeable. And they do not grow your file significantly. All good things you will like.

Don’t paint yourself into a corner

This non-destructive workflow is all about not painting yourself into a corner (sorry if that is an American idiom that doesn’t translate well). It means not trapping yourself down a path you cannot recover from, a position where you cannot escape. This flexible way of working allows you go go back to any stage of your work and make changes. If you need, you can even strip off all the edits you have made and start over from the original pixels. Everything is preserved.

No more unrecoverable originals.

When you get comfortable with this way of editing you will not go back. For me, when I consider doing something that permanently alters pixels something stops me. It feels dirty or wrong. I can always find a non-destructive way to accomplish what I want and it is just as fast and easy.

I find that when I come back to an image after a period of time I often want to make changes. Sometimes small tweaks but sometimes a complete reinterpretation of what I want the image to be. A non-destructive workflow allows me the freedom I want to be able to do this. And I never go down a path I cannot recover from.

I consider that working in this way is a sign you are well on your way to Photoshop mastery, if there is such a thing.

How Much Processing?

Extreme post processing

I guess this implies several possible questions. How much is too much? How much am I allowed to do? Should a final image look as “close” to the original photography as possible? This has been a dilemma for me until recently. I’ve come to the position that any amount of processing is OK, as long as I like the result.

My history

I started out my creative journey with the mindset of an engineer. Photographs should be an exacting match to the scene. This led to an emphasis on technical skills, warmly liked by engineers, emphasizing precision. Creativity was finding the right scene, not something that might be developed in later processing. In fairness. these were the days before Photoshop.

Later on, I became heavily involved in my local camera club. Our club was great – better than any I encountered in the surrounding communities. But still. there is a collective think that tends to permeate these. One of the mantras in our organization was “no hand of man” in landscape shots. I was generally OK with this, but I thought sometimes that some shots could actually be improved by relaxing that constraint. But I played along.

It came to a head for me at one contest where I got rebellious and submitted a photo that had a bit of a Photoshop twist in the clouds. I had Photoshop by them and was getting frustrated that “Photoshopped” images were generally disapproved in our contests. After winning the blue ribbon I let them know how it was created. There was a lot of discussion, ranging from it should be disqualified to what’s wrong with that? I kept my blue ribbon, but that was about the end of my involvement in camera club. I needed to stretch, not be constrained.

I bring these up to let you know that I came from a background of avoiding heavy post processing. It has taken me a long time to give myself permission to get creative or even liberal in post.

Reality

I never had a darkroom, so I never internalized how much manipulation took place there. As I learned about it, one of my reactions was “they’ve been cheating all this time”.

My investigation of darkroom capabilities brought me to finally understand Ansel Adam’s famous quote that “The negative is comparable to the composer’s score and the print to its performance. Each performance differs in subtle ways.” I began to see that famous photographers had always felt free to bend and modify their images in post production. Some of Ansel Adam’s assistants say it usually takes many hours to print one of his images. This is because he requires such extensive work in spotting, bleaching, burning, dodging, etc.

One of the most extreme examples is his famous image “Moonrise Over Hernandez”. He had to capture it very quickly and the negative is flat, low contrast. It require a lot of work to print to his expectations. Ansel removes clouds and greatly changes the tonality and contrast of the print. So the takeaway is that the print is an interpretation of the negative. Anything is fair. I have come to believe that if Ansel had Photoshop he would do much more than he did.

A new understanding

So in my own journey, I have come to a place where I do not feel so constrained by the original image. An image is raw material. What is important to me is what I can visualize it becoming. As I become more skilled at tone correcting and color enhancement, my vision is being extended. If I don’t like that building or person in it, take them out or move them. If the sky is weak, replace it. Maybe this isn’t a great image on its own and it needs to be composited with one or more other fragments to create something new.

I finally discovered – or allowed myself to accept – that this is art, not reality. The reality of the scene need not be a hinderance to what I might envision making of it. What becomes even more important is my vision as an artist and my skill in working with the image. An image is not just what it is, it should be what I want it to be.

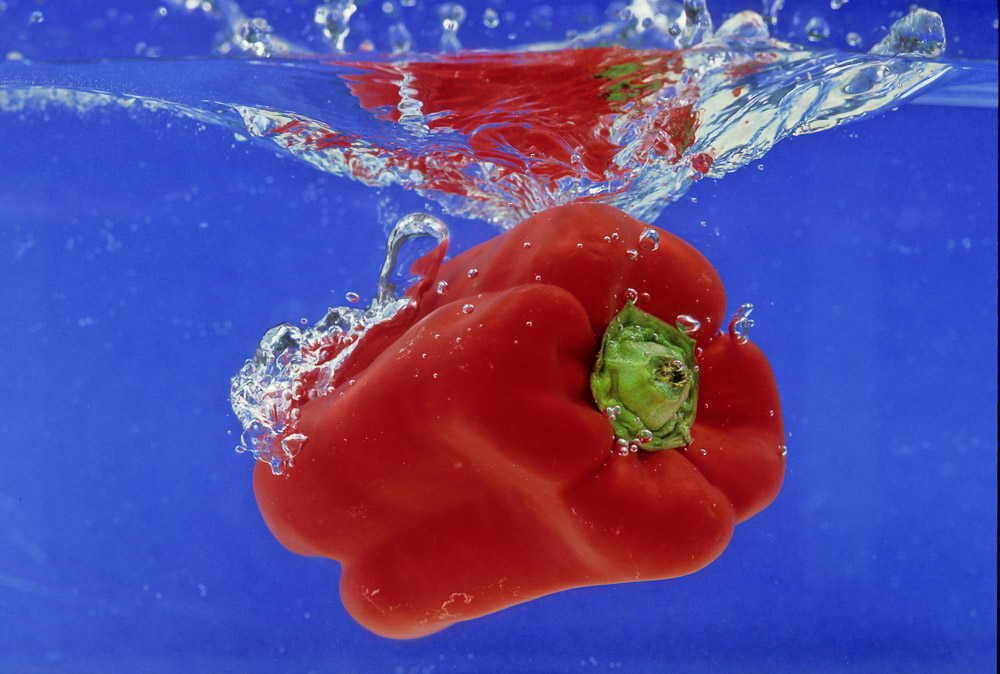
The image at the head of this post is an example. It is made up of 2 images and the final result does not look like either of the originals.

Never believe a photograph. It is not truth. It is always subjective, if not outright modified.

Let me know what you think, and check out my online gallery for more examples.

Something out of Nothing

composite art

A great image is more than a subject. Sometimes the obvious subject itself fades to the back and the overall effect of the art becomes dominant. I would call this making something out of nothing.

Geoffrey James, a Canadian photographer, has said “A photograph is more than its subject. The real challenge is to make something out of nothing.” He goes on to say “it used to be everything had to be beautiful, picturesque”, but he was now making images where the subject (something beautiful) was not the notable part of the picture.

I don’t exactly subscribe to his vision, but the phrase captured me.

I find myself frequently making something out of nothing. It’s subtle and difficult to explain. It is not normally about the beauty of a subject. And it is not “it didn’t work in color, try black & white“.

Liberated from reality

I am a fine art photographer. (the term is actually distasteful to me; I consider myself an artist who uses digital media, but that’s a subject for another article.) This is extremely liberating.

One of the things this means to me is that the pixels I capture with the camera are just raw material. I am free to transform them any way I wish to create art. The resulting image may be “about” something entirely different than the original capture. Occasionally I see an opportunity to composite 2 or more images to make something different. I love doing this and I am sometimes surprised at the result.

Back in my early learning curve, I was active in my local photography club. It was great experience and a good organization, except for certain aspects of the competitions. They were narrowly focused on the “purity” of the image. It could have some minor spotting and color correction and cropping, but that was about it. In other words, about what you could do in a chemical darkroom. I’m afraid I generated quite a controversy when I submitted (and won a blue ribbon for) a digitally manipulated image what had some serious warping applied. That was the beginning of my break from any assumption that an image should be “as shot”.

The joy of Photoshop

What a time to be an image maker! Photoshop is a marvelous tool for working with images. There are other tools, but I do not use them so I will not try to act like I know anything about them.

Photoshop brings us almost infinite control over our pixels. It is far better control than the best darkroom masters ever had. We can adjust tone precisely and in totally localized regions. We can adjust color balance and tint in the most subtle or extreme degrees. It allows us to color grade, convert to black & white, remove distractions, selectively sharpen, warp and distort the pixels, and basically do anything possible with pixels. Pixels are raw material.

So images are now completely malleable. There is no reason to stop processing an image until it is exactly what we see in our mind’s eye. When we get done, the image might have a completely different “meaning” or effect than the original. It has been fashioned into a different piece of art.

What do pixels mean?

This has been a difficult transition for me. Coming out of a background that valued a respect for the image “as shot”, it has been hard to give myself permission to push the original image into something completely different. But this is what art is really about. And I love it!

In one sense, pixels are just pixels – a grid of little colored spots. They are a resource the artist has available to work with. Like paint on a canvas, they are there for whatever the artist wants to make of them. If the intent is to enhance the original image, that is great. If the artist wants to shape them into something completely different, that is their privilege and joy.

We are no longer “stuck” with the image we captured. We can make it into something entirely different. In that sense, we make something out of nothing.

If I have misused Mr. James’ quote, I apologize to him. I transformed the raw material through my own values and perspective and made something out of nothing.

Note

Please let me know what you think and what topics you would like me to address. I value your comments.